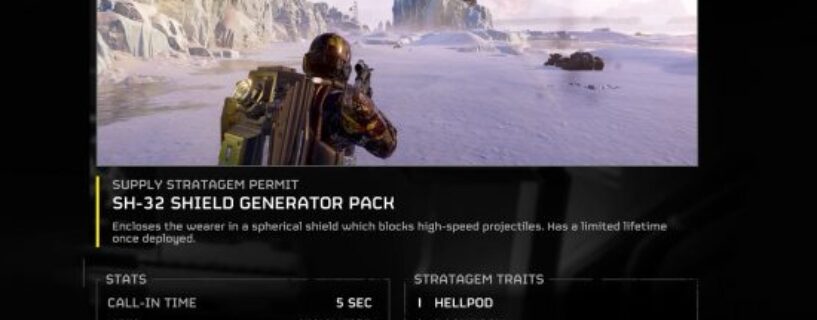
What are the best Helldivers 2 stratagems? To spread democracy as efficiently as possible, you need to spend your credits wisely. The tricky thing about stratagems is that they all serve different purposes depending on the number of players you’re fighting with, in addition to the enemy you’re facing.
One bad purchase in Helldivers 2 is the equivalent of several wasted missions, and no one wants to waste their precious time. In this co-op game, you need to be careful about how you’re using your stratagems as friendly fire is on, and it cannot be disabled. Don’t forget to check out our list of the best Helldivers 2 weapons so you have everything you need to take on any enemy.
Helldivers 2 stratagems tier list
As we’ve also said about our top stratagem picks below, this is a more general tier list to the best overall stratagems. In other words, don’t just follow it blindly — make sure you have a good spread of gear between your team, and consider your teammate’s strengths and weaknesses, your mission needs, and friendly fire.
Here are all the stratagems in Helldivers 2, ranked:
| Tier | Stratagem |
| S | Quasar Cannon, Railgun, Orbital Laser, Railcannon Strike, Patriot Exosuit, Eagle Airstrike, 500kg Bomb, Arc Thrower |
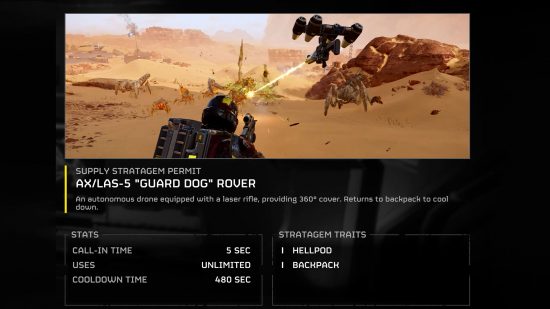
| A | Shield Generator Pack, Eagle Cluster Bomb, Supply Pack, Jump Pack, Mortar Sentry, Guard Dog Rover, Autocannon sentry, Autocannon, Stalwart, Anti-Materiel Rifle, Grenade Launcher, EMS Mortar Sentry, Resupply, Reinforce |
| B | Recoilless Rifle, Flamethrower, Laser Cannon, Napalm Strike, Hellbomb, Airburst Strike, 110MM Rocket Pods, Precision Strike, Rocket Sentry, Gatling, Shield Generator Relay, Expendable Anti-Tank |
| C | Machine Gun, Heavy Machine Gun, Spear Launcher, Gatling Barrage, Walking Barrage, Gas Strike, EMS Strike, Orbital Smoke Strike, Strafing Run, Eagle Smoke Strike, 380mm HE Barrage |
| D | 120mm HE Barrage, Machine Gun Sentry, Ballistic Shield Backpack, HMG Emplacement, Guard Dog, Tesla Tower, Anti-Personnel Minefield, Incendiary Mines, SOS Beacon |
Helldivers 2 best stratagems
As mentioned earlier, the type of enemy you’re up against plays a large role in what stratagems you should consider using. We’re going to be focusing on stratagems that perform well against both the Terminids (Aliens) and the Automatons (robots), giving you the best of both worlds. Given how credits are hard to come by, our list highlights the best stratagems you should be saving your cash for right away.
The best Helldivers 2 stratagems are:
- LAS-99 Quasar Cannon
- Railgun
- Orbital Laser
- Orbital Railcannon Strike
- EXO-45 Patriot Exosuit
- Eagle Airstrike
- Eagle 500kg Bomb
- Arc Thrower
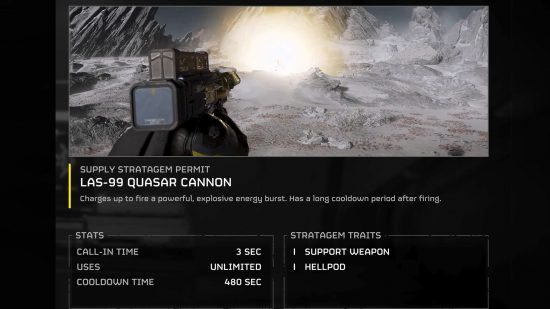
LAS-99 Quasar Cannon
The Quasar Cannon is the single most powerful stratagem in the game, and it comes at a fairly reasonable cost. In a single shot, the Quasar Cannon can take out Bug Holes, Chargers, Titans, and can destroy chunkier opponents in just two or three hits. The most important thing is to make sure you aim at the correct spots, like heads, vents, and other areas of vulnerability.
Call-In Time: Eight seconds
Uses: Unlimited
Cooldown Time: 480 seconds (eight minutes)
Code: Down, down, up, left, right (↓ ↓ ↑ ← →)
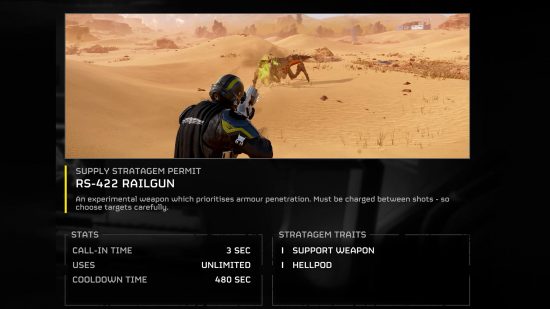
Railgun
When you find yourself tackling some of the hardest missions in Helldivers 2, you’re going to be running into strong enemies with either huge amounts of health or incredibly tough armor. Equip yourself with the Railgun, a powerful weapon that can be charged up to instantly kill a large and armored enemy with a single shot. It’s always worth having the Railgun as an option in your arsenal as you’re going to come up against powerful enemies that require a top-tier weapon to defeat them.
Call-In Time: Three seconds
Uses: Unlimited
Cooldown Time: 480 seconds (eight minutes)
Code: Down, right, down, up, left, right (↓ → ↓ ↑ ← →)
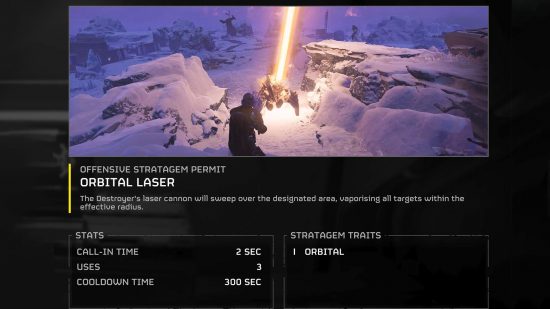
Orbital Laser
The Orbital Laser and Railcannon are interchangeable weapons, you don’t want to run both in the same loadout. However, we recommend splitting them between teammates for the most optimal setup possible, providing those using the Orbital Laser know how to hit their targets.
Call-In Time: Two seconds
Uses: Three
Cooldown Time: 300 seconds (five minutes)
Code: Right, down, up, right, down (→ ↓ ↑ → ↓)
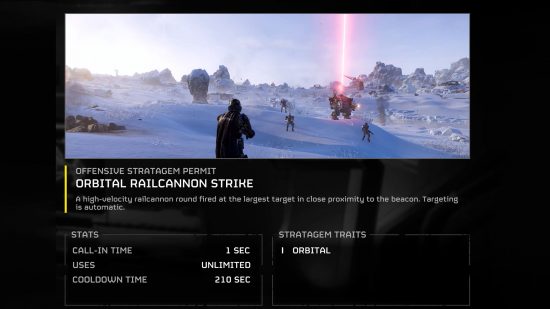
Orbital Railcannon Strike
The Orbital Railcannon Strike is undeniably one of the best stratagems in the entire game, capable of automatically targeting enemies within a certain range. Not only does it rip both enemy types to shreds, but you don’t need to worry about friendly fire unless you plan on standing directly under the deadly beam from above.
Call-In Time: One second
Uses: Unlimited
Cooldown Time: 210 seconds
Code: Right, up, down, down, right (→ ↑ ↓ ↓ →)
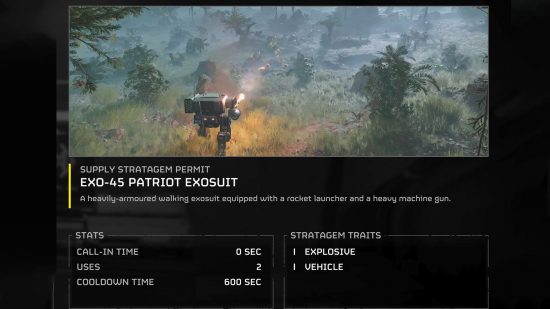
EXO-45 Patriot Exosuit
The Patriot Exosuit is particularly effective against bugs, and can also be used to take out hunters, troopers, and other light-armored foes. While its heavy machine gun isn’t as effective against larger opponents, it can be used to damage enemy tech, so it’s a great all-rounder.
Call-In Time: Zero seconds
Uses: Two
Cooldown Time: 600 seconds (10 minutes)
Code: Left, down, right, up, left, down, down (← ↓ → ↑ ← ↓ ↓)
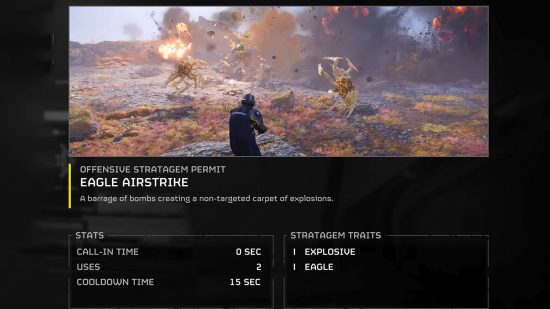
Eagle Airstrike
Any airstrike or bombs needs to be used with care given friendly fire, but if you’ve got good comms with your team, the Eagle Airstrike can be used to decimate an area. The initial area of effect is quite small, but can be upgraded with additional strikes.
Call-In Time: Zero seconds
Uses: Two
Cooldown Time: 15 seconds
Code: Up, right, down, right (↑ → ↓ →)
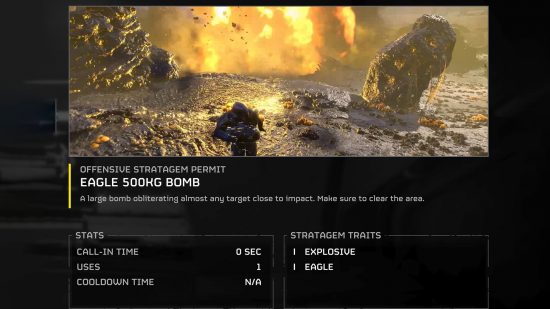
Eagle 500kg Bomb
The 500kg bomb drop is not the most precise of attacks, but when it hits, it really hits. A successful drop can one-hit a range of enemies, and even though it might be a little unpredictable, the bomb’s call-in time and cooldown (if you upgrade to two) make it valuable.
Call-In Time: Zero seconds
Uses: One (Upgrade: Two)
Cooldown Time: N/A (8 seconds)
Code: Up, right, down, down, down (↑ → ↓ ↓ ↓)
Arc Thrower
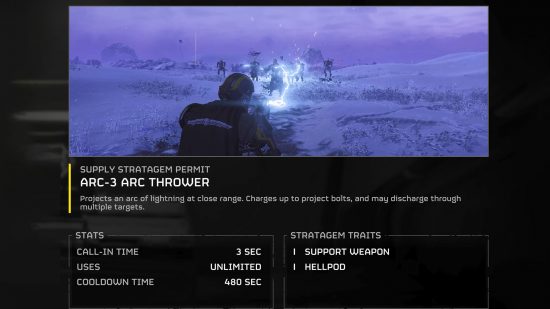
The Arc Thrower is an excellent weapon to call in for ground-level use do to its ability to bounce between multiple enemies. An electric weapon with infinite ammunition, the thrower hurls as bolt of electricity, dealing damage to the nearest opponent. As mentioned though, there is a chance for each bolt to then pass to other enemies as well. Lower-level enemies can even be defeated by the ARC-3 with one accurate shot to the head.
Call-In Time: 3 seconds
Uses: Unlimited
Cooldown Time: 480 seconds (8 minutes)
Code: Down, right, down, up, left, left (↓ → ↓ ↑ ← ←)
All Helldivers 2 stratagems codes
| Stratagem | Code |
| Anti-Materiel Rifle | ↓ ← → ↑ ↓ |
| Anti-Personnel Minefield | ↓ ← ↑ → |
| Arc Thrower | ↓ → ↓ ↑ ← ← |
| AC-8 Autocannon | ↓ ← ↓ ↑ ↑ → |
| Autocannon Sentry | ↓ ↑ → ↑ ← ↑ |
| Ballistic Shield Backpack | ↓ ← ↓ ↓ ↑ ← |
| Eagle Airstrike | ↑ → ↓ → |
| Eagle 500kg Bomb | ↑ → ↓ ↓ ↓ |
| Eagle Cluster Bomb | ↑ → ↓ ↓ → |
| Eagle Napalm Airstrike | ↑ → ↓ ↑ |
| Eagle 110mm Rocket Pods | ↑ → ↑ ← |
| Eagle Smoke Strike | ↑ → ↑ ↓ |
| Eagle Strafing Run | ↑ → → |
| EMS Mortar Sentry | ↓ ↑ → ↓ → |
| Expendable Anti-tank | ↓ ↓ ← ↑ → |
| Flamethrower | ↓ ← ↑ ↓ ↑ |
| Gatling Sentry | ↓ ↑ → ← |
| Grenade Launcher | ↓ ← ↑ ← ↓ |
| AR-23 Guard Dog | ↓ ↑ ← ↑→ ↓ |
| LAS-5 Guard Dog Rover | ↓ ↑ ← ↑ → → |
| Hellbomb | ↓ ↑ ← ↓ ↑ ↓ → ↑ |
| HMG Emplacement | ↓ ↑ ← → → ← |
| Illumination Flare | → → ← ← |
| Incendiary Mines | ↓ ← ← ↓ |
| Jump Pack | ↓ ↑ ↑ ↓ ↑ |
| Laser Cannon | ↓ ← ↓ ↑ ← |
| MG-206 Heavy Machine Gun | ↓ ← ↓ ↑ ↑ → |
| MG-43 Machine Gun | ↓ ← ↓ ↑ → |
| Machine Gun Sentry | ↓ → ↑ ↑ → |
| M-12 Mortar Sentry | ↓ ↑ → → ↓ |
| Orbital Airburst Strike | → → → |
| Orbital EMS Strike | → → ← ↓ |
| Orbital Gas Strike | → → ↓ → |
| Orbital Gatling Strike | → ↓ ← ↑ ↑ |
| Orbital 120mm HE Barrage | → → ↓ ← → ↓ |
| Orbital 380mm HE Barrage | → ↓ ↑ ↑ ← ↓ ↓ |
| Orbital Laser | → ↓ ↑ → ↓ |
| Orbital Precision Strike | → → ↑ |
| Orbital Railcannon Strike | → ↑ ↓ ↓ → |
| Orbital Smoke Strike | → → ↓ ↑ |
| Orbital Walking Barrage | → ↓ → ↓ → ↓ |
| Patriot Exosuit | ← ↓ → ↑ ← ↓ ↓ |
| Railgun | ↓ → ↓ ↑ ← → |
| Recoilless Rifle | ↓ ← → → ← |
| Reinforce | ↑ ↓ → ← ↑ |
| Rearm | ↑ ↑ ← ↑ → |
| Resupply | ↓ ↓ ↑ → |
| Rocket Sentry | ↓ ↑ → → ← |
| SEAF Artillery | → ↑ ↑ ↓ |
| Seismic Probe | ↑ ↑ ← → ↓ ↓ |
| Shield Generator Pack | ↓ ↑ ← → ← → |
| Shield Generator Relay | ↓ ↓ ← → ← → |
| SSSD Delivery | ↓ ↓ ↓ ↑ ↑ |
| SOS Beacon | ↑ ↓ → ↑ |
| Spear Launcher | ↓ ↓ ↑ ↓ ↓ |
| M-105 Stalwart | ↓ ← ↓ ↑ ↑ ← |
| Super Earth Flag | ↓ ↑ ↓ ↑ |
| Supply Pack | ↓ ← ↓ ↑ ↑ ↓ |
| Tesla Tower | ↓ ↑ → ↑ ← → |
| Quasar Cannon | ↓ ↓ ↑ ← → |
| Upload Data | ↓ ↓ ↑ ↑ ↑ |
And there you have it, those are the best stratagems in Helldivers 2. Again, we must highlight that there’s no best stratagem per se, but the ones listed can be used to take on the action game’s hardest difficulties. Check out our Helldivers 2 XP Farm guide if you want to unlock the late-game stratagems as fast as possible.

