A new mystery surrounding the Vex is ours to solve in Destiny 2. Here is how to complete every step of the A Rising Chorus quest which is the main Echoes quest in Destiny 2.
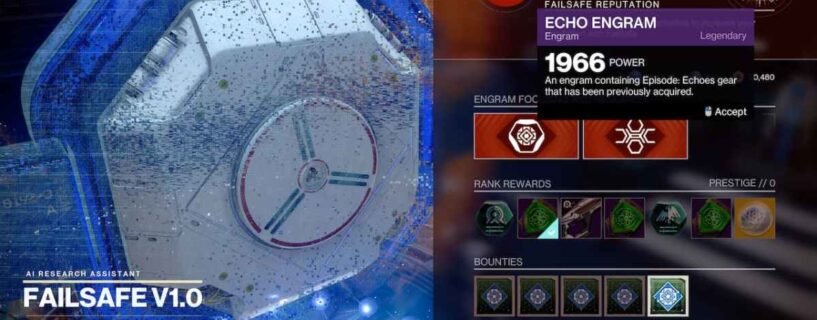
Week 1 – Step 1: Begin your research with Failsafe in the H.E.L.M. in Destiny 2
The very first step in A Rising Chorus will probably be already done given that the whole quest unlocks after completing A Familiar Voice, the intro quest that introduces Nessus’s strange Vex activity and the Breach Executable mission. So, you are pretty much done with this step. Moving on!
Step 2: Investigate the locations Failsafe marked on Nessus in Destiny 2
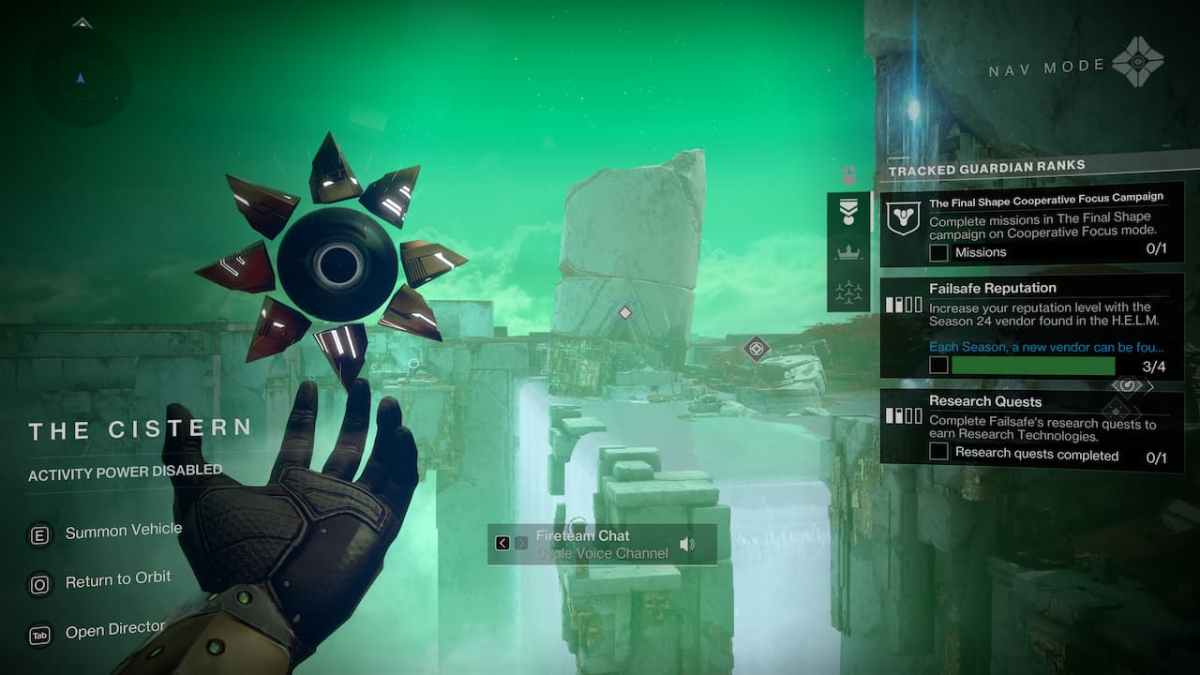
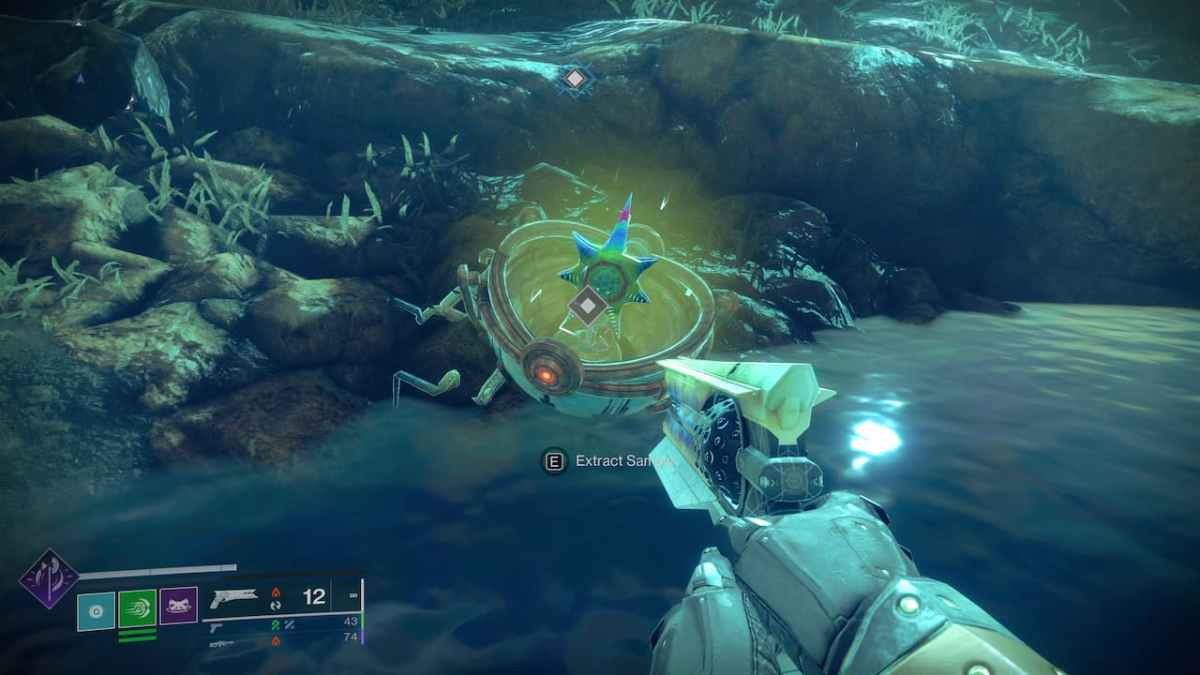
This will be the actual first on-the-field step for Guardians to complete. You will have to collect three different samples from Nessus which are named first, second, and third samples (Failsafe is very practical with naming apparently). So, let’s head out to Nessus and travel to The Cistern landing zone.
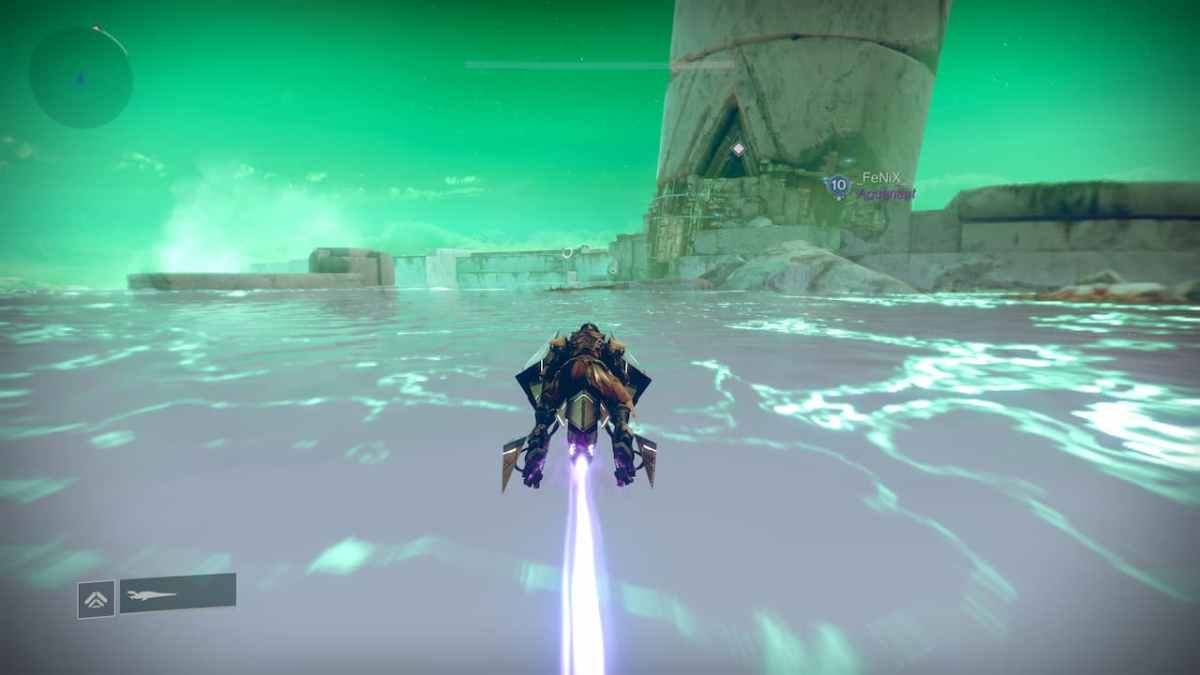
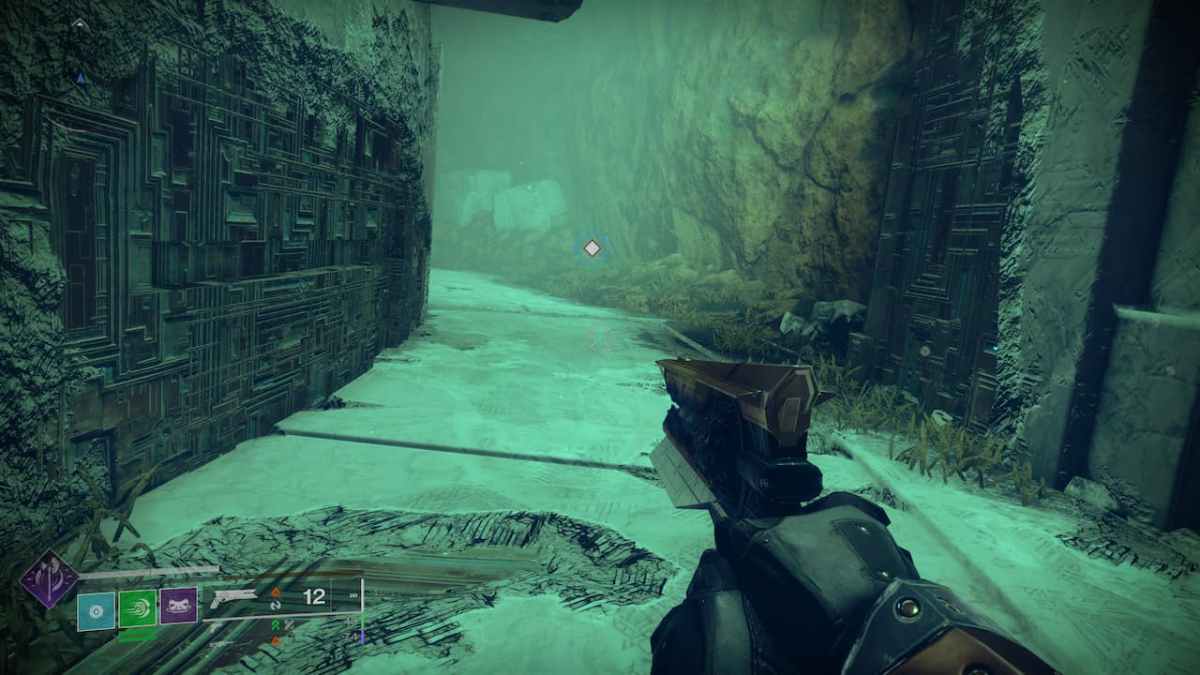
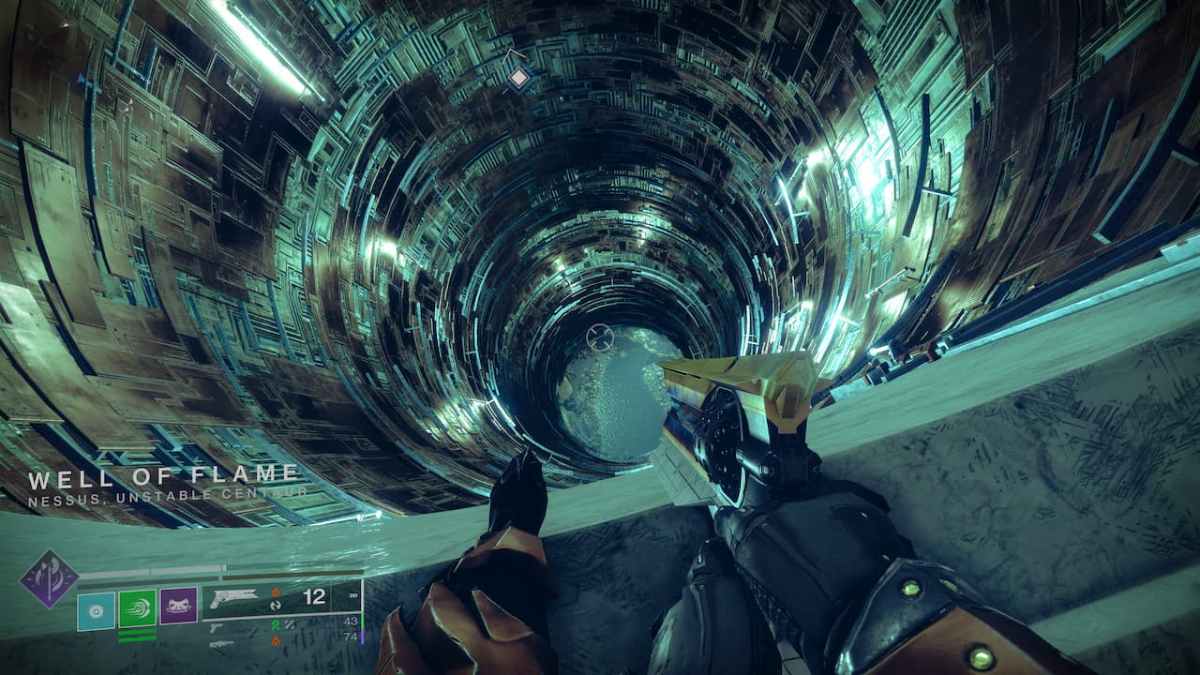
Thankfully, Failsafe has done most of the job for us, and all the samples are already located. You will see the on-screen marker directing you toward the Well of Flame, so travel there using your Sparrow, otherwise the whole Radiolaria sea will end up killing you in the process.
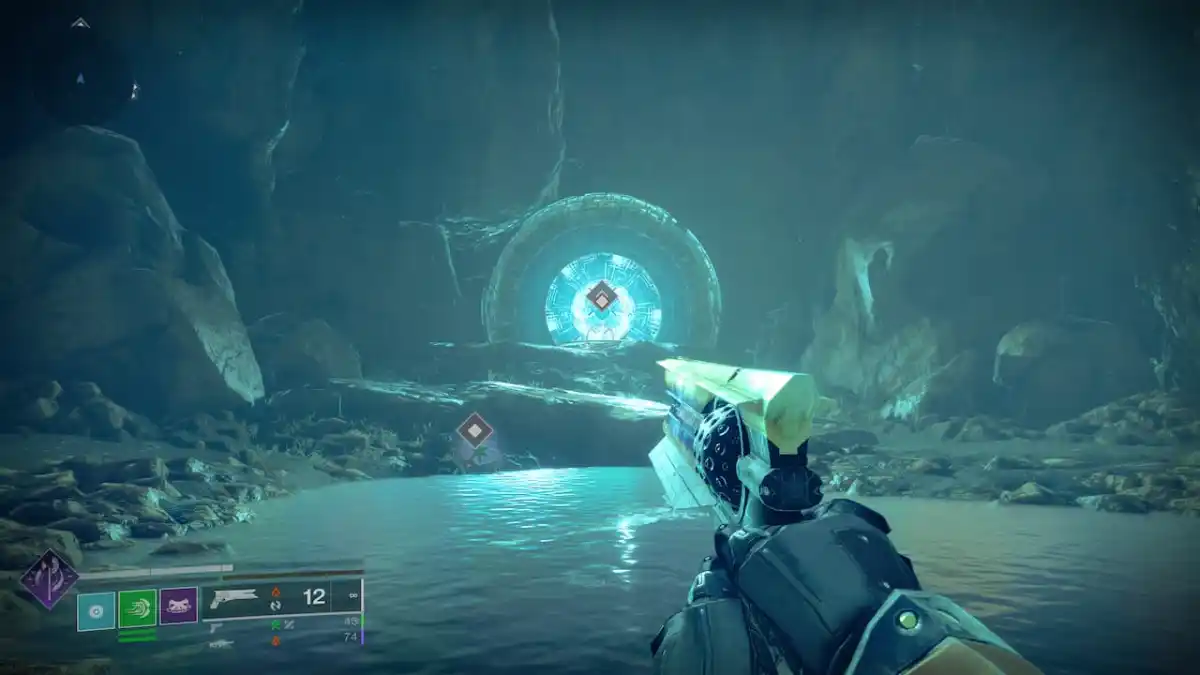
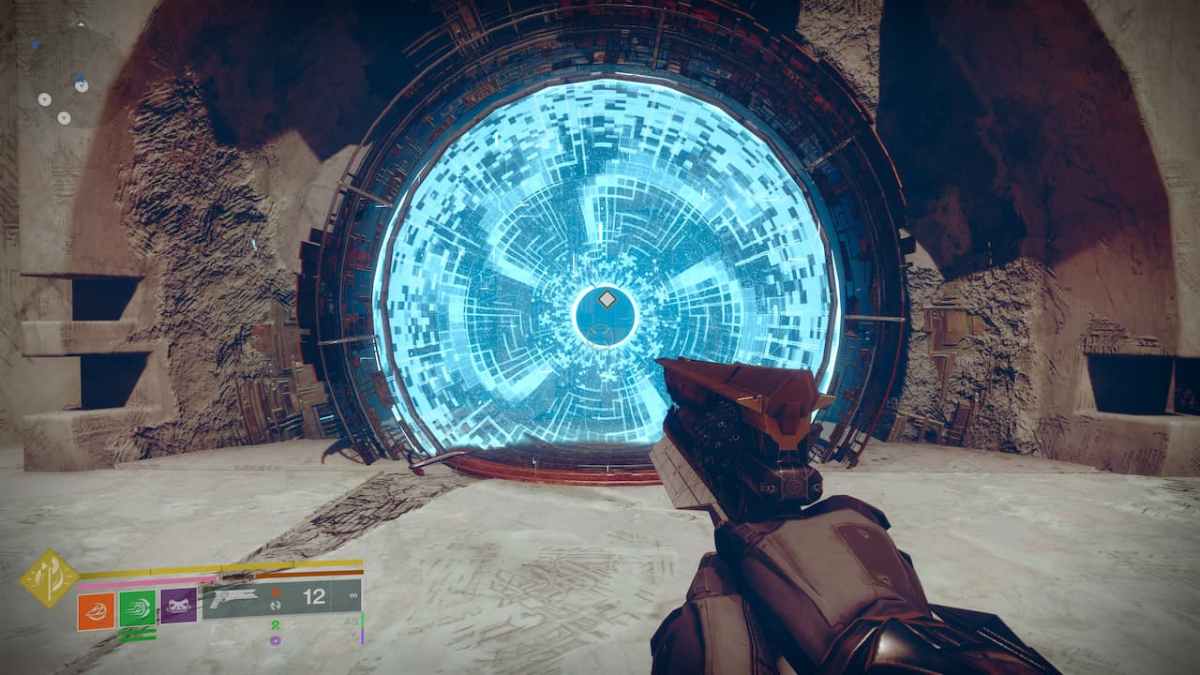
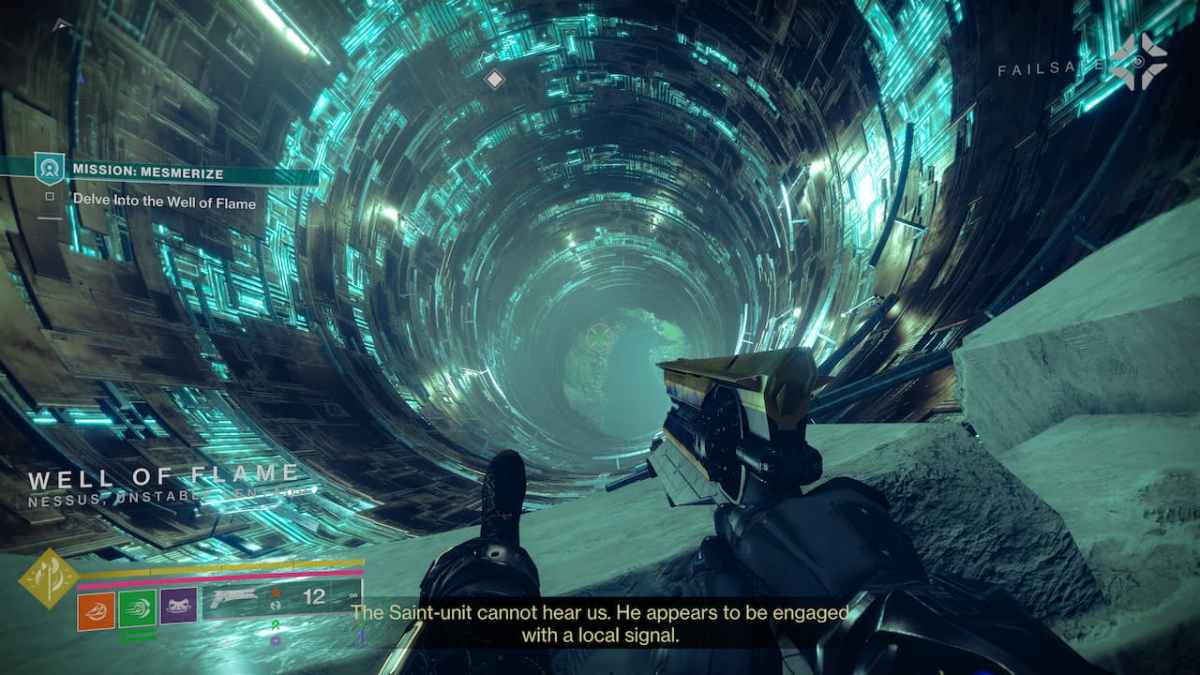
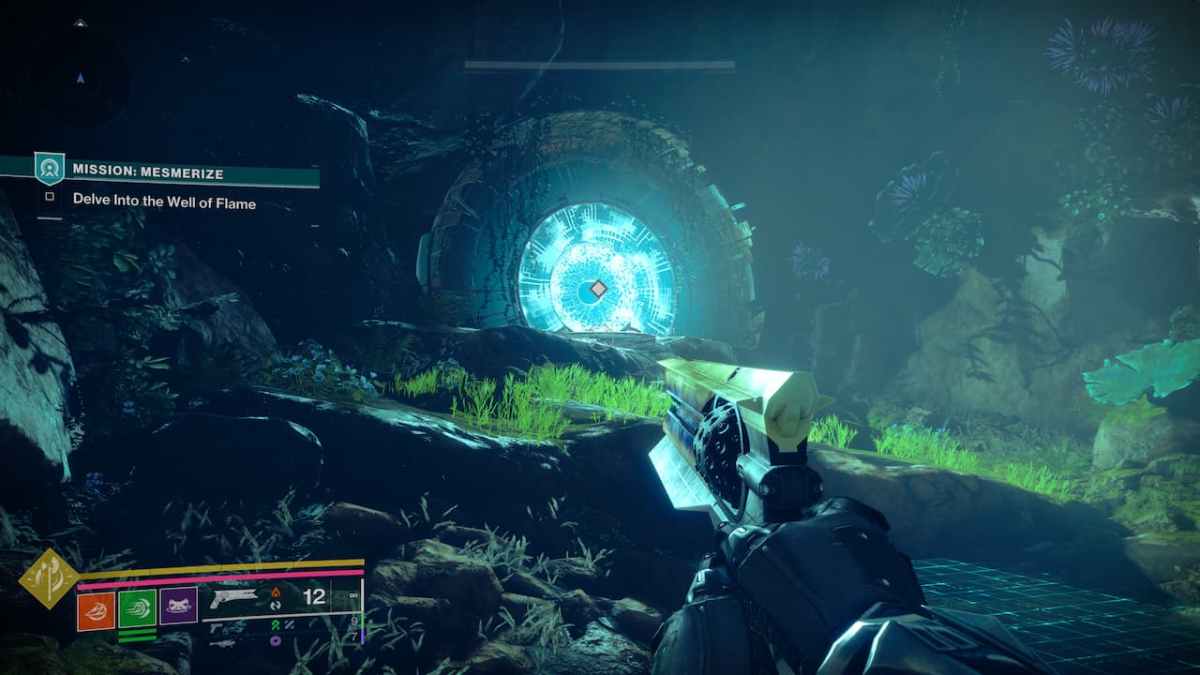
Head inside and jump down the huge well — don’t forget to double jump unless you want to become Guardian mash potatoes. Down the well, you will find a portal and the first sample you need to collect. Do so and then go through the portal.
On the other side of the portal, look down to your left and you will see the second sample waiting for you and some Radiolaria below, so tread lightly.
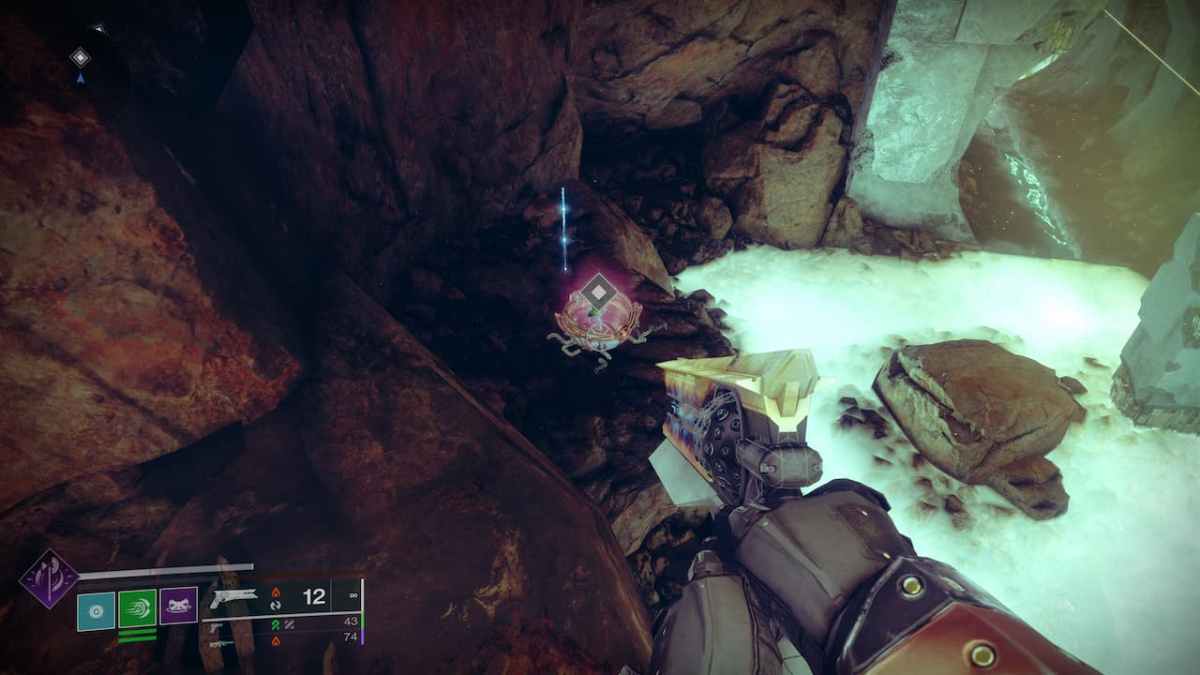
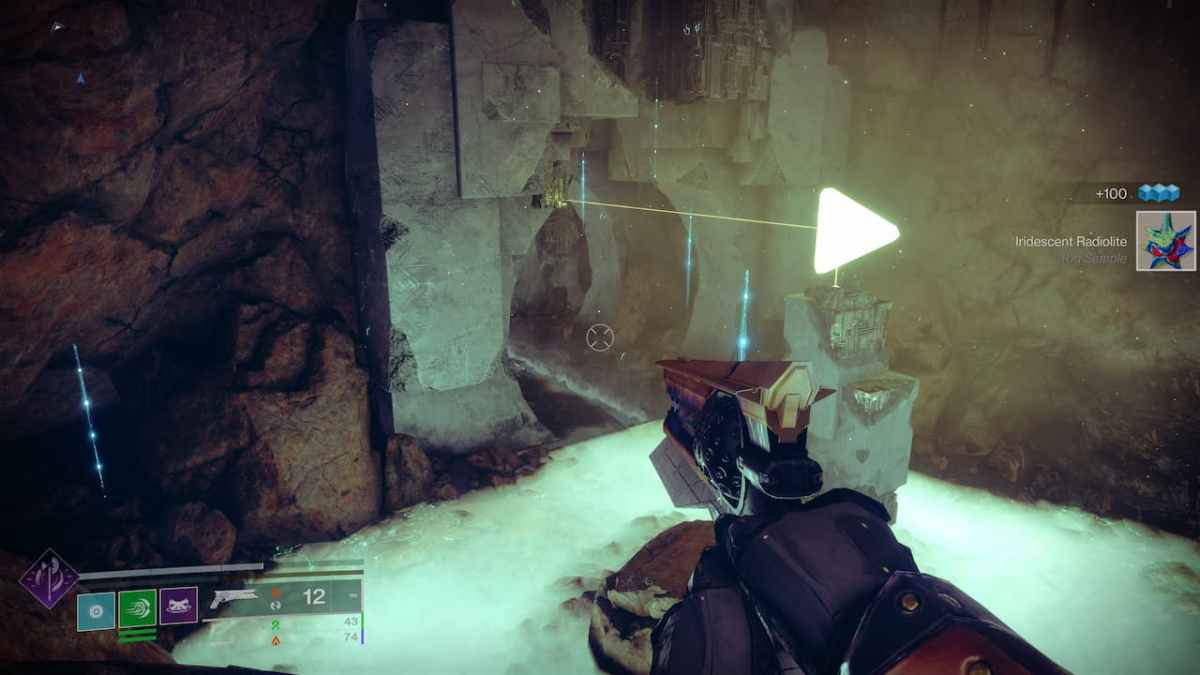
Follow the tunnel and you will get to a room that looks like it was built specifically for a boss fight, but that’s probably just my imagination, right? Anyway, drop down and you will find the final sample.
Step 3: Collect unusual specimen in Destiny 2
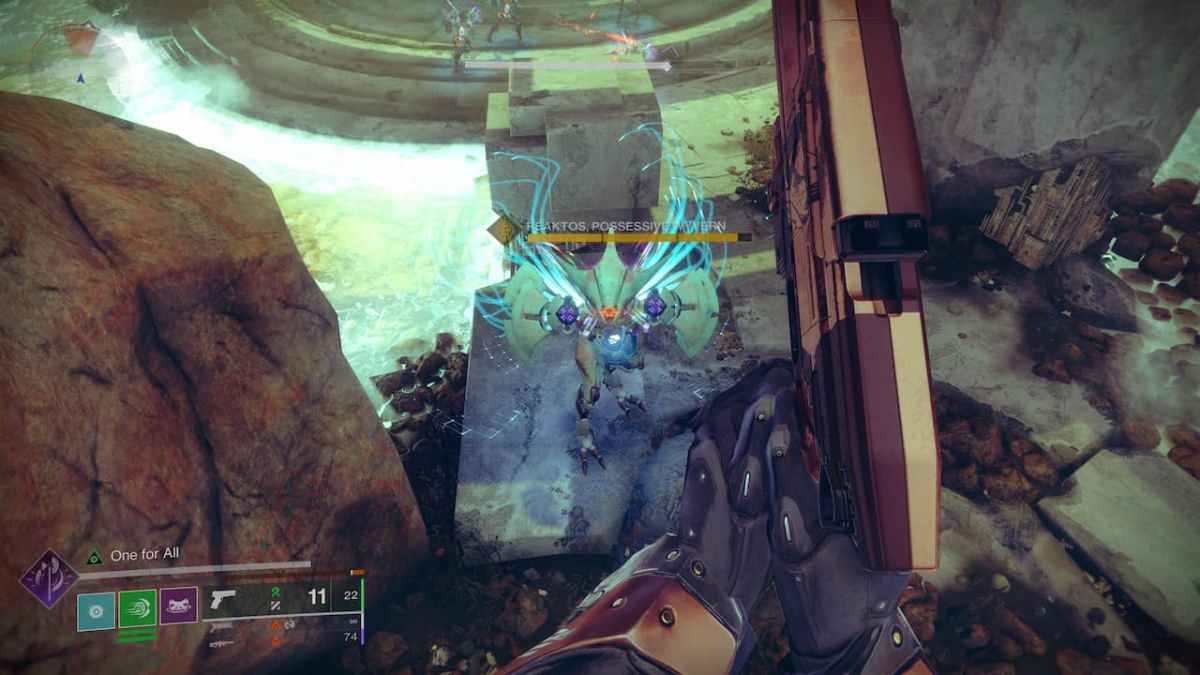
After collecting the third and final sample, the Vex will try to trap you and a Wyvern and a bunch of Vex will appear — I knew it wasn’t going to be so easy. The fight itself is pretty easy, just shoot at every Vex that appears and take care of the Wyvern with heavy weaponry.
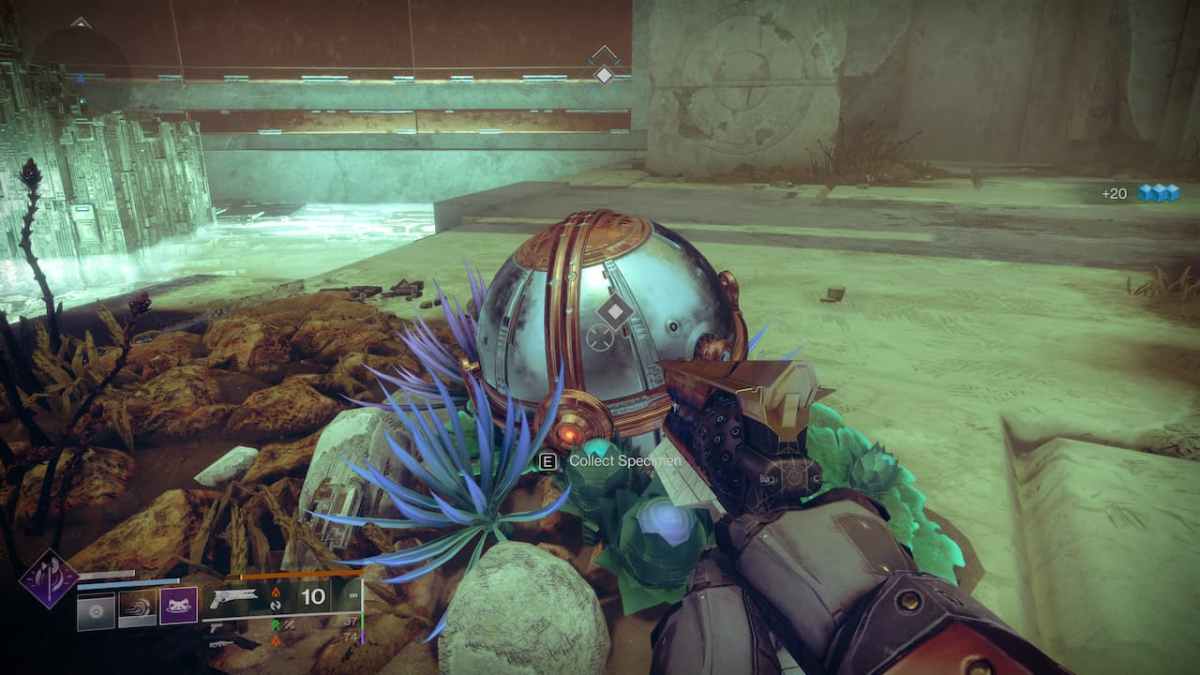
Once you are done with every single Vex, you will find that the unusual specimen is lying on the floor. Convenient, I know. Take it now and you will have everything you need to return to the H.E.L.M. and talk to Failsafe.
Steps 4 & 5: Take and discuss the research specimen with Failsafe in Destiny 2
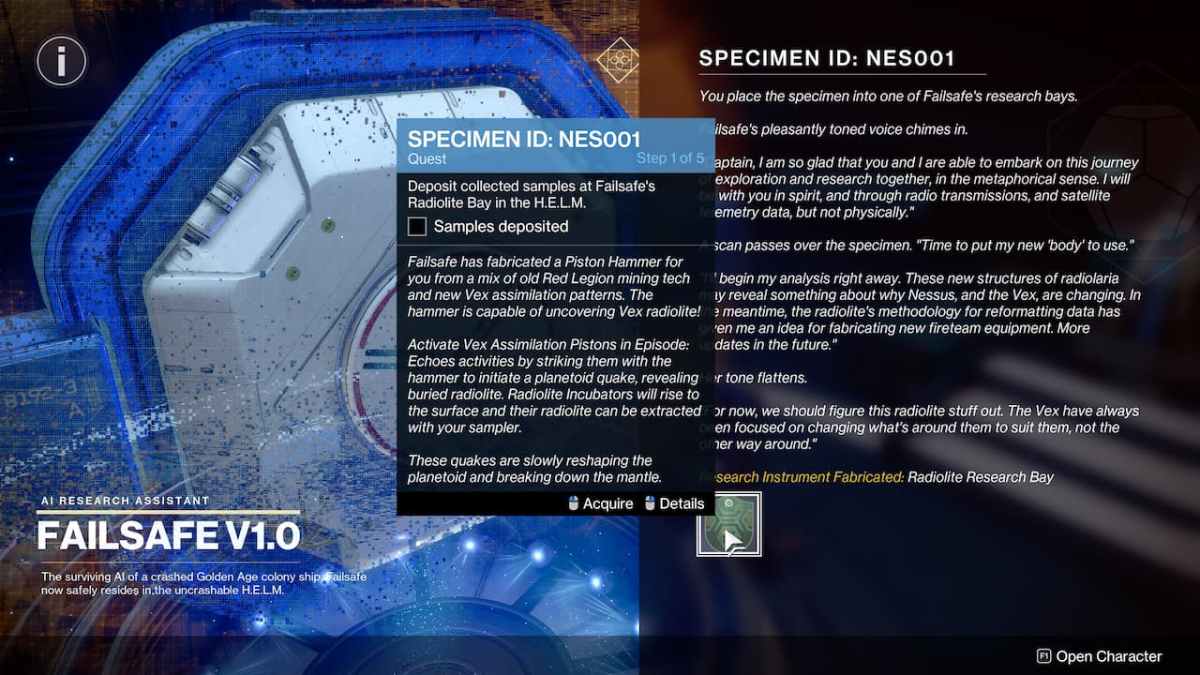
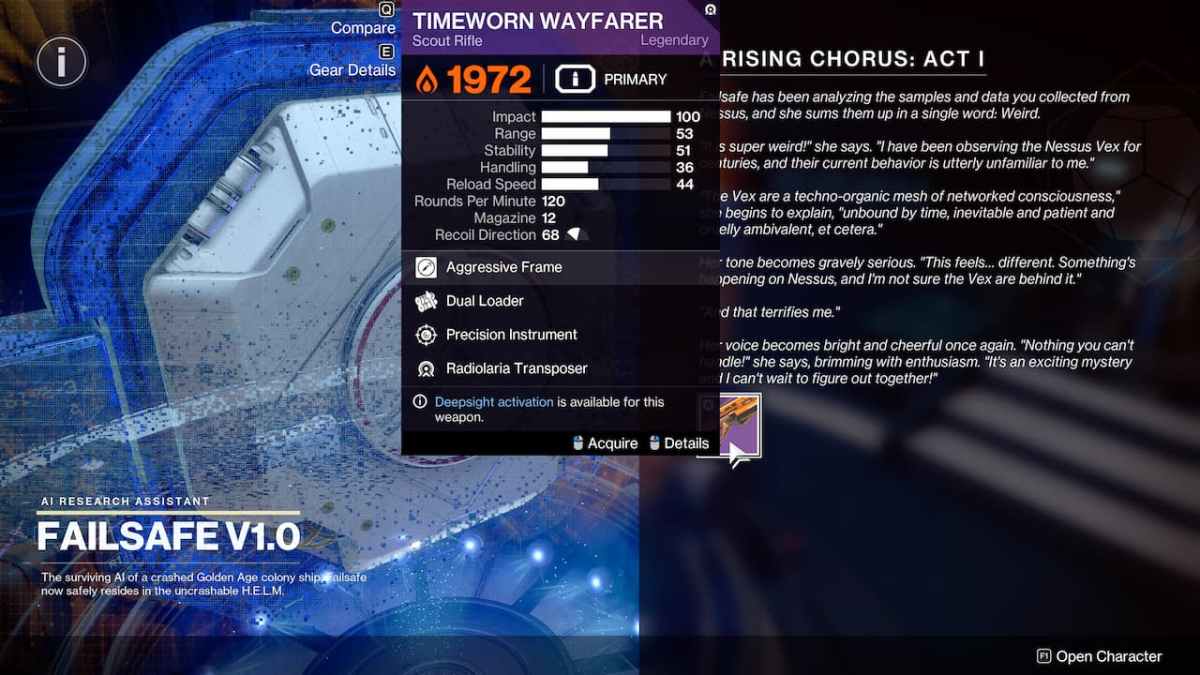
The only thing you need to do is to report to Failsafe by interacting with her and she will note that the identity behind the Vex’s strange behavior is a mystery that we will probably want to research more. The specimen we collected will be named NES001 and will open up a new quest and feature in the H.E.L.M.: the Radiolife Research Bay. She will also reward you with a Timeworm Wayfarer scout rifle and then leave you to be.
Week 2 – Steps 6 & 7: Continue your Nessus research in Destiny 2
Step 6 in the A Rising Chorus quest is just waiting for Failsafe to conclude her data analysis, which is how Bungie time-gates its episodic and seasonal quests to fit a weekly schedule.
Step 7 is the first step of the quest’s second part and will have you report back to Failsafe, who will task you to get back to Nessus to test a new way to determine the origin of the aberrant Vex behavior — and she will also shame us passive aggressively for abandoning her for so long.
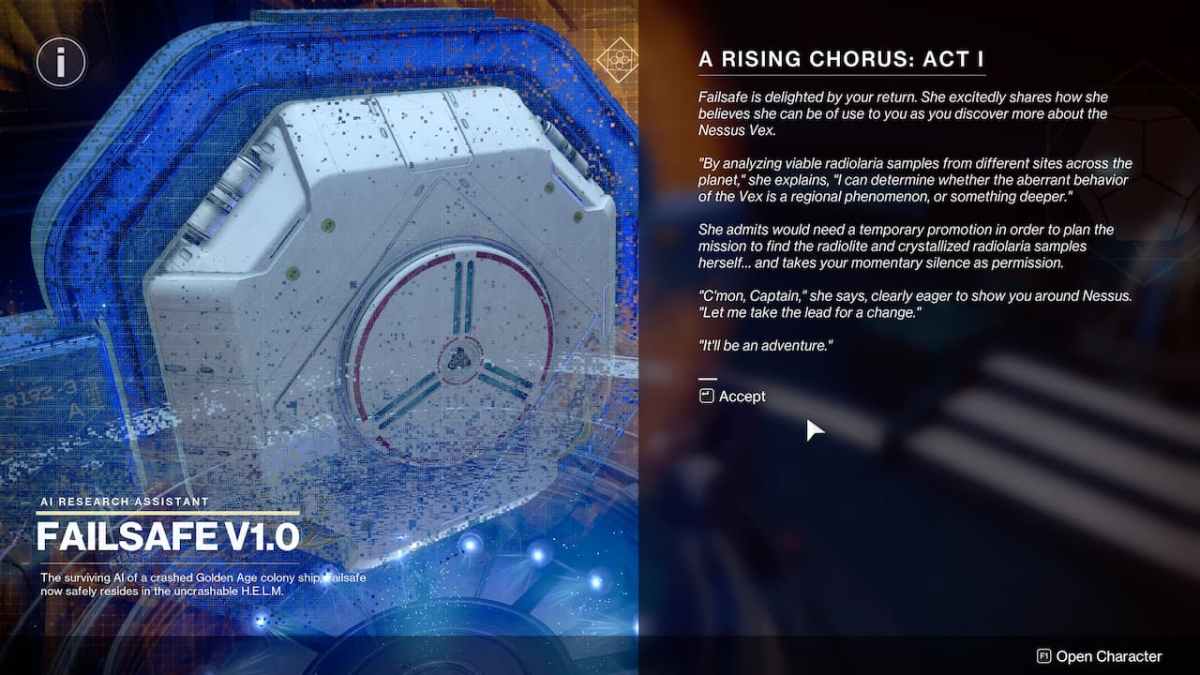
Step 8: Deploy Failsafe’s proximity sensor in Exodus Black in Destiny 2
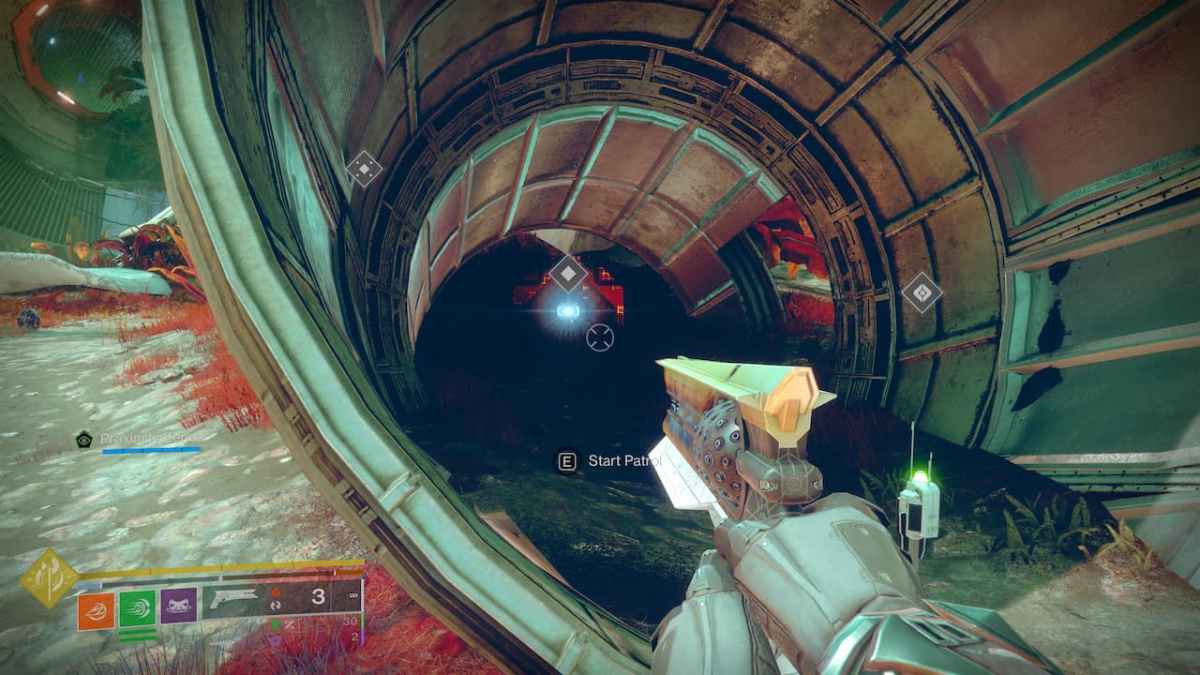
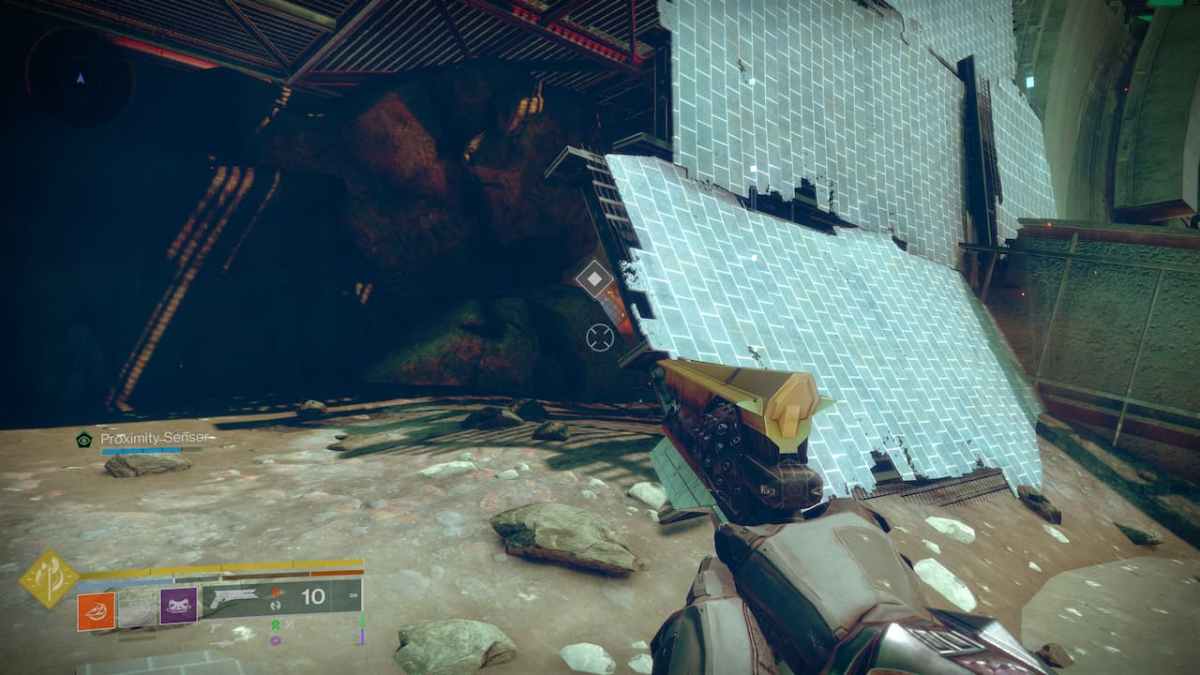
Head to Exodus Black in Nessus and you will discover a new feature in your HUD: the Proximity Sensor. Disregard the comically placed beeps that Failsafe will repeat through the coms since all you need to focus on is the Proximity Sensor bar which will fill up the closer you are to the region spot you need to activate Failsafe’s scan. It’s a mechanic that’s the equivalent of hot and cold. In Exodus Black, you can find it inside an empty engine remains.
Step 9: Deploy Failsafe’s proximity sensor in Glade of Echoes in Destiny 2
Head to the Glade of Echoes area to the south and follow your Proximity Sensor. You will find the scan spot behind some metal plates in the area. Despite scanning with the aforementioned places, the data scan will not be successful, so you will have to travel to a third area to complete it.
Steps 10 & 11: Find the optimal location to deploy scanners and collect specimen in Destiny 2
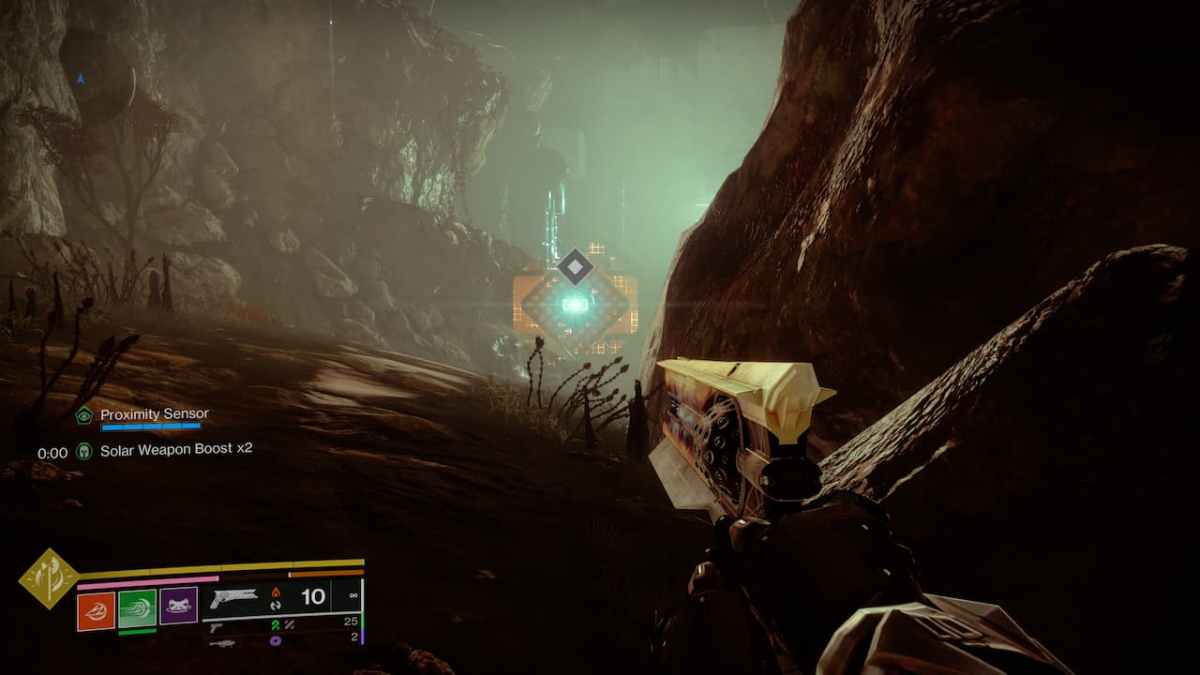
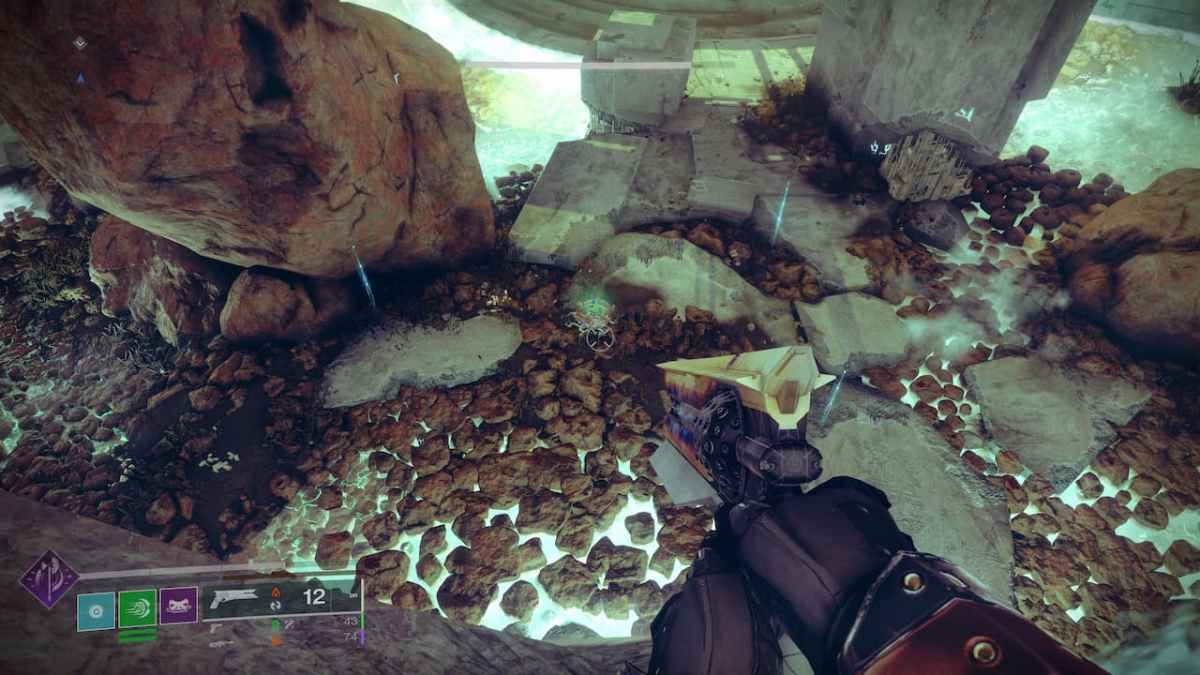
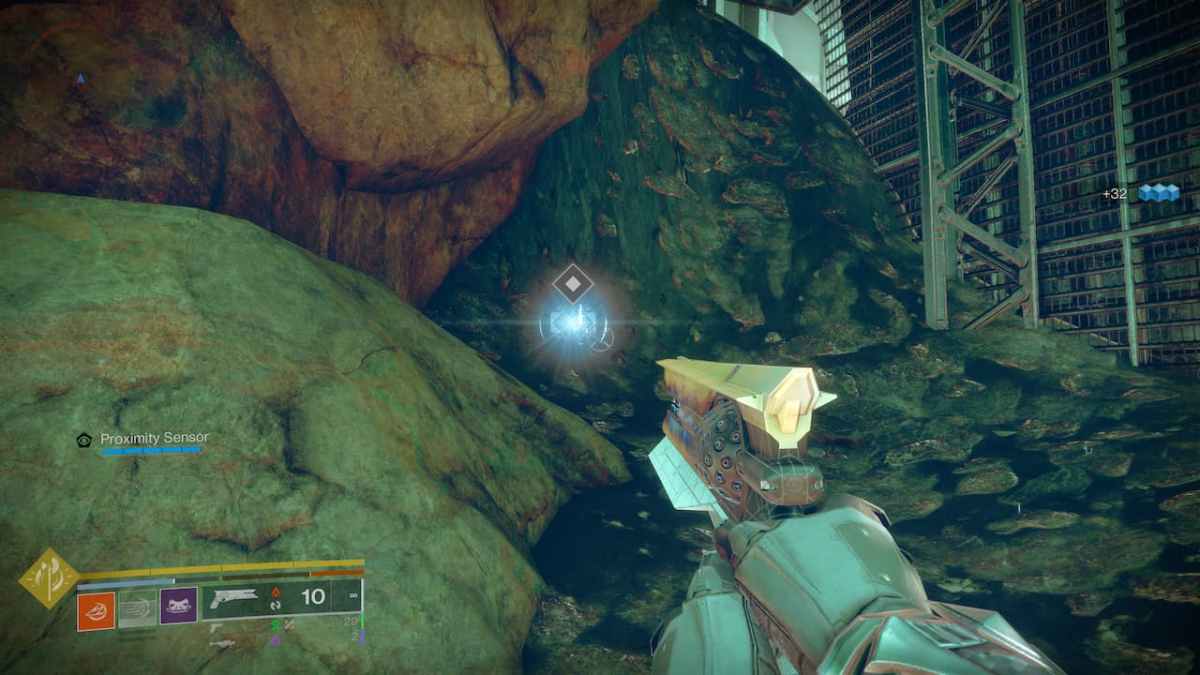
Travel to the Hallows area in the Arcadian Valley and head underground. You will find the optimal location just beside a rock formation. Interact with it and you will be tasked with collecting a specimen, which is the next step in the quest. Fortunately, the specimen is just above you on a rock platform, so collect it and you will be ready for the next step.
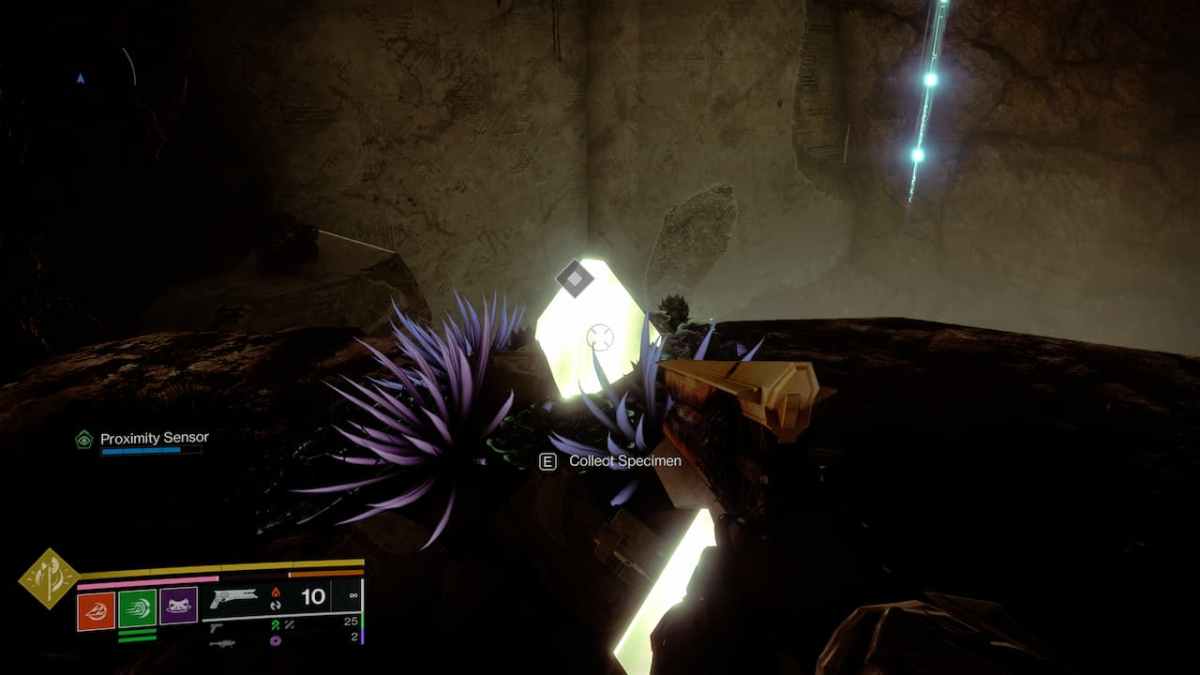
Step 12: Deliver the newly collected specimen in Destiny 2
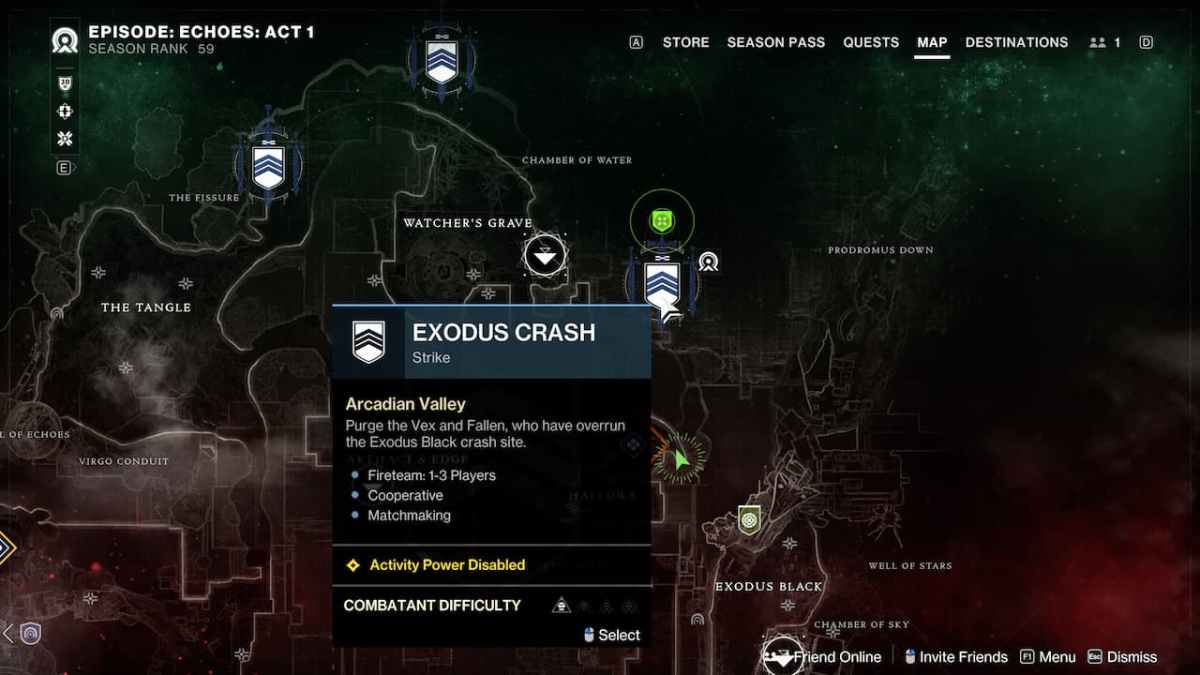
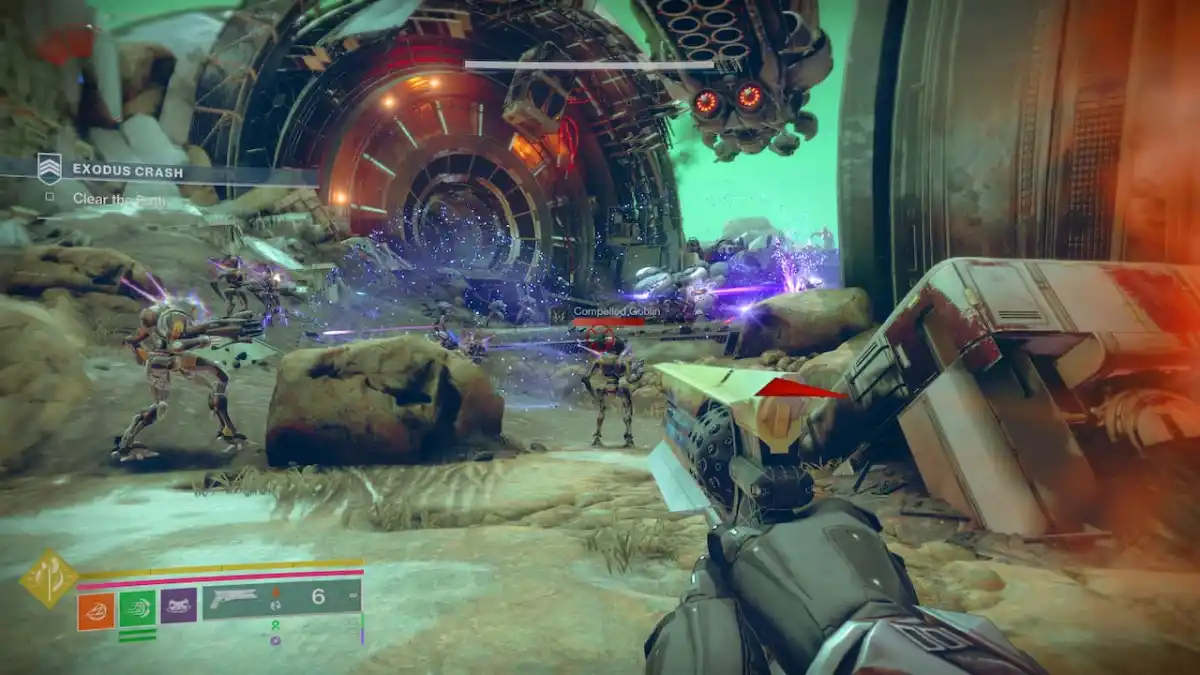
You will have to deliver this specimen to the mainframe room while you complete the Exodus Crash strike on Nessus. It is a very straightforward strike where you will have to investigate the crash site while clearing pathways, deactivating barriers by overloading them, and fighting lots of incoming Vex enemies.
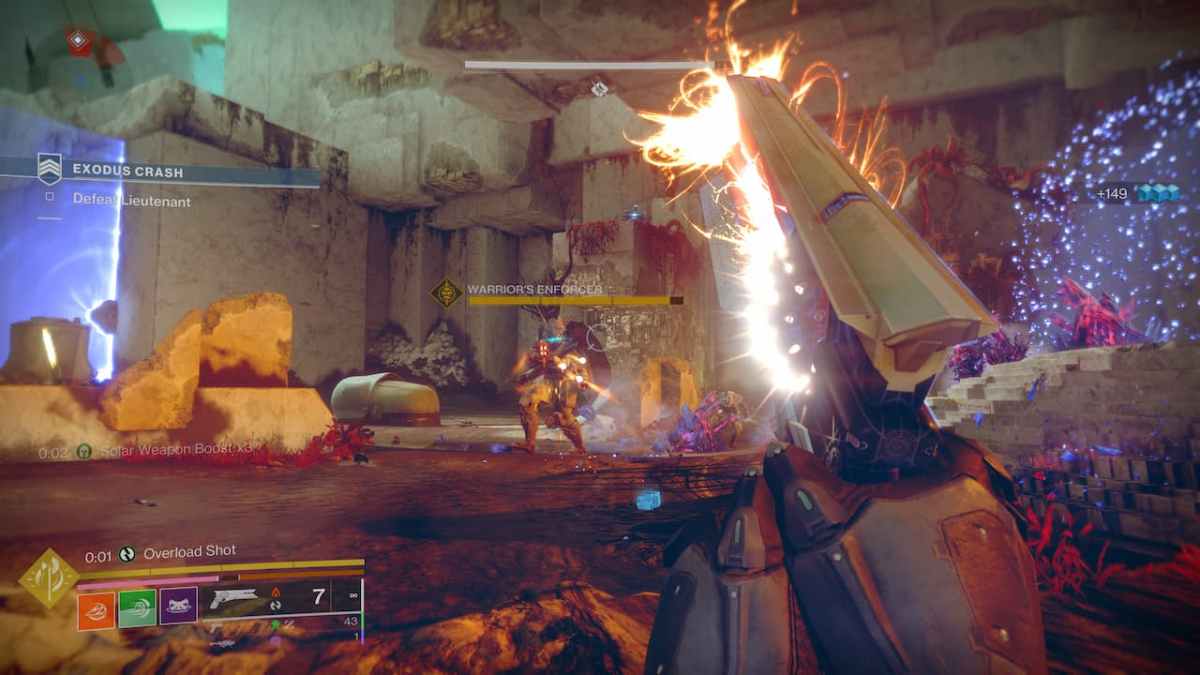
There are two specific parts of the Exodus Crash strike you should pay attention to. One is disabling the barrier in an enclosed room where you will need to guard your Ghost by remaining close to it and defeating rounds of Fallen enemies as well as overloading generators out in the open by defeating powerful Vex enemies and depositing the charges in the generators.
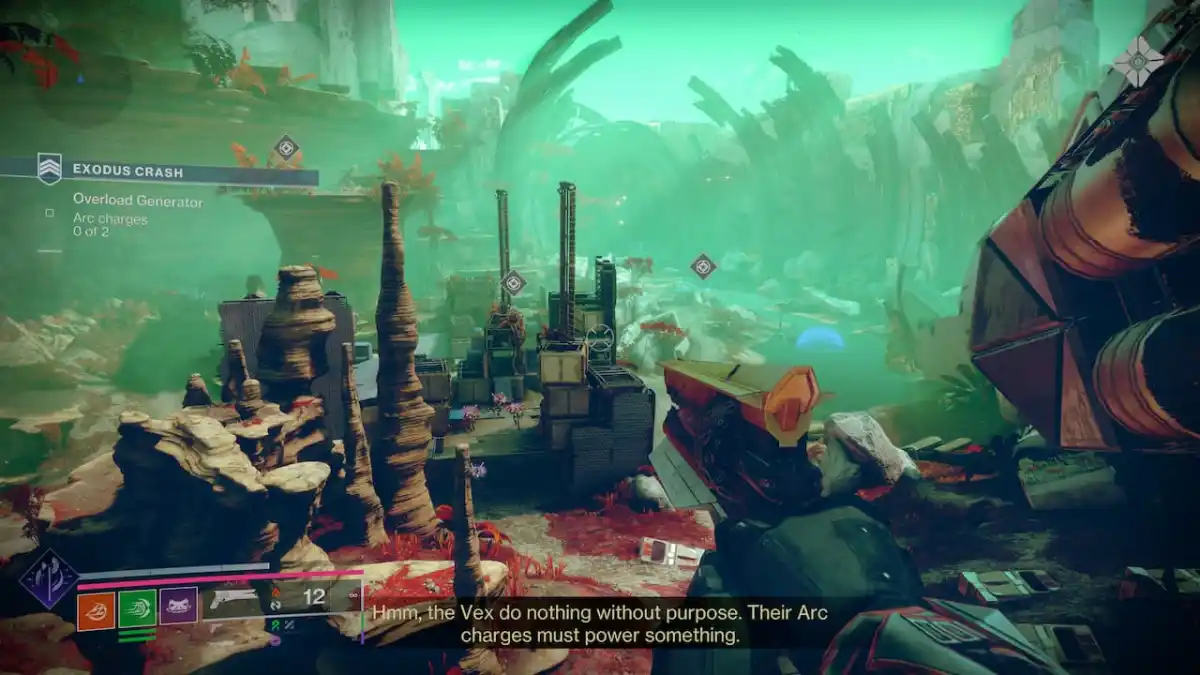
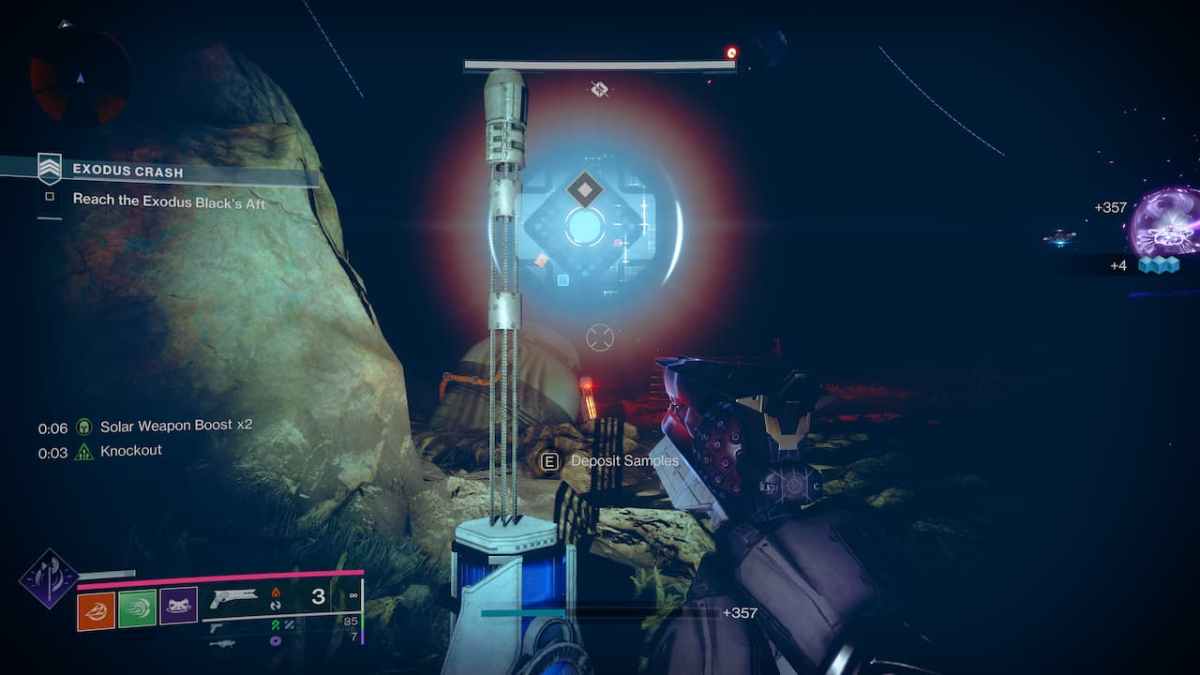
Other than that, the mission is pretty easy to follow and you don’t have to finish it if you don’t want to. On the way to the Exodus Black’s Aft, you will visit a room in complete darkness. You will find the location to deposit the collected specimen right at the entrance.
Step 13: Complete a run of Breach Executable and locate NES002-C in Destiny 2
The next step is completing the Breach Executable activity we have previously completed during the A Familiar Voice quest. If you haven’t completed the activity, you will have to complete two different rounds of objectives like fighting Vex, capturing zones, destroying Gestating Radiolaria Pods, etcetera, which are chosen at random. Then you will have to face a boss.
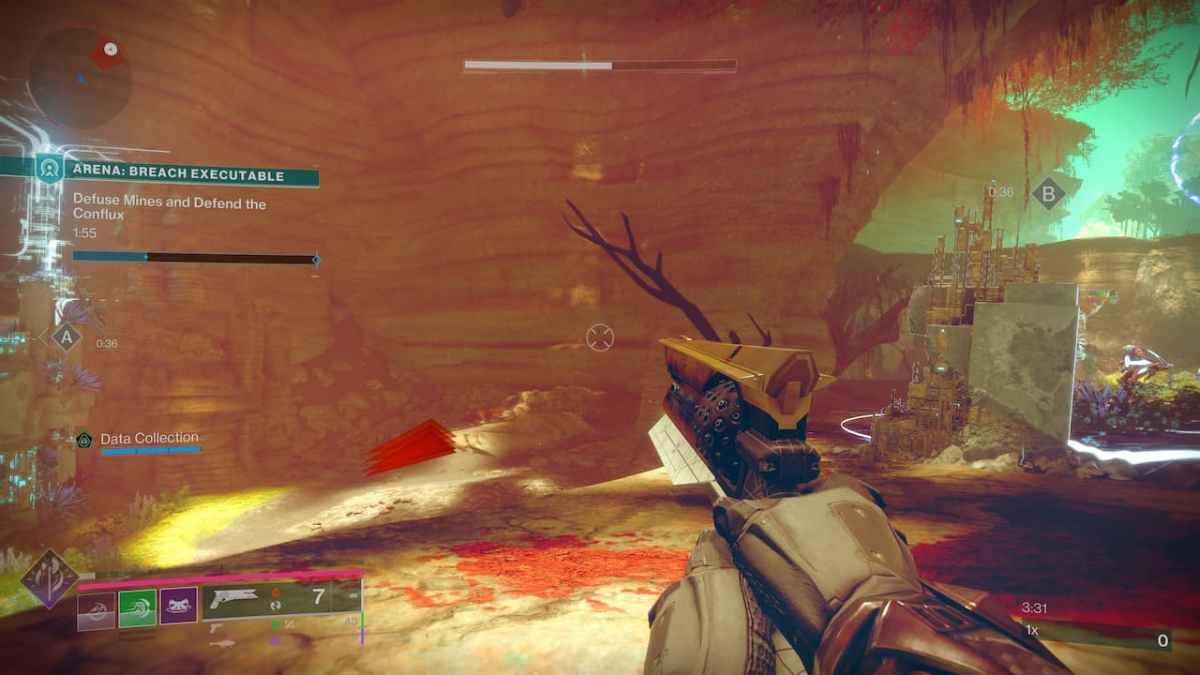
Echoes Week 2 features a new round objective that revolves around hacking a Conflux, with Guardians defending Ghosts against enemy hordes and defusing mines. Not only that, but there is a new Vex boss named Tym, Guardian Slayer, with the room featuring rotating red lasers, just to spice things up. These insta-kill you, so watch out.
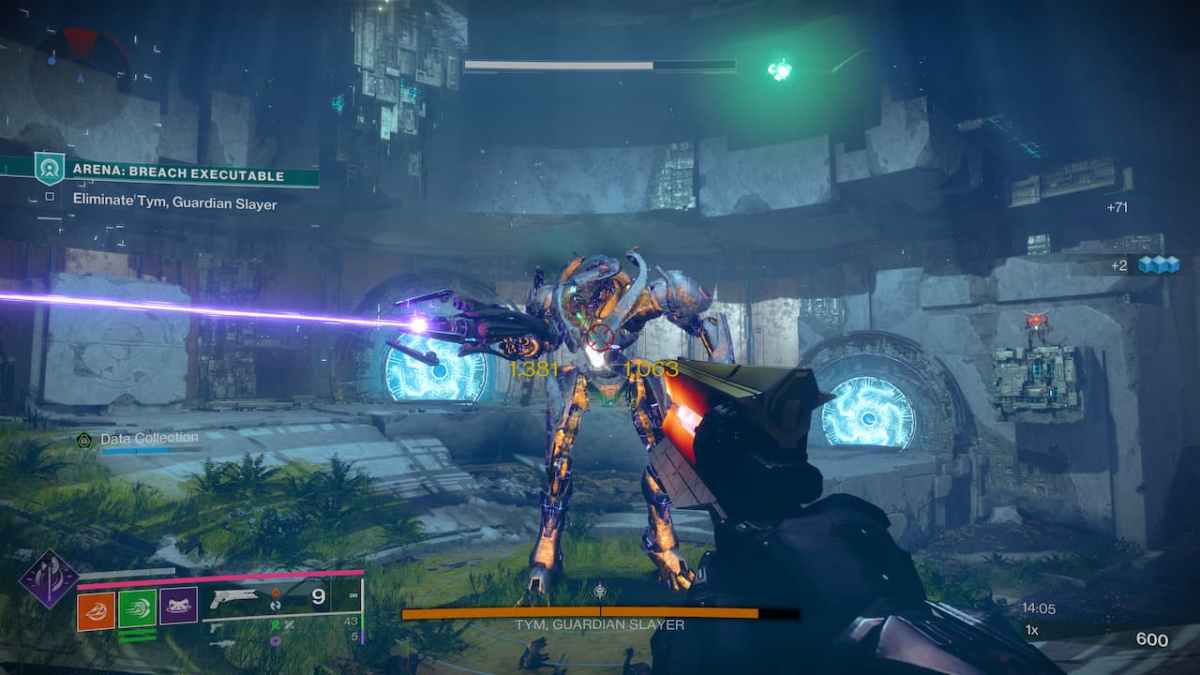
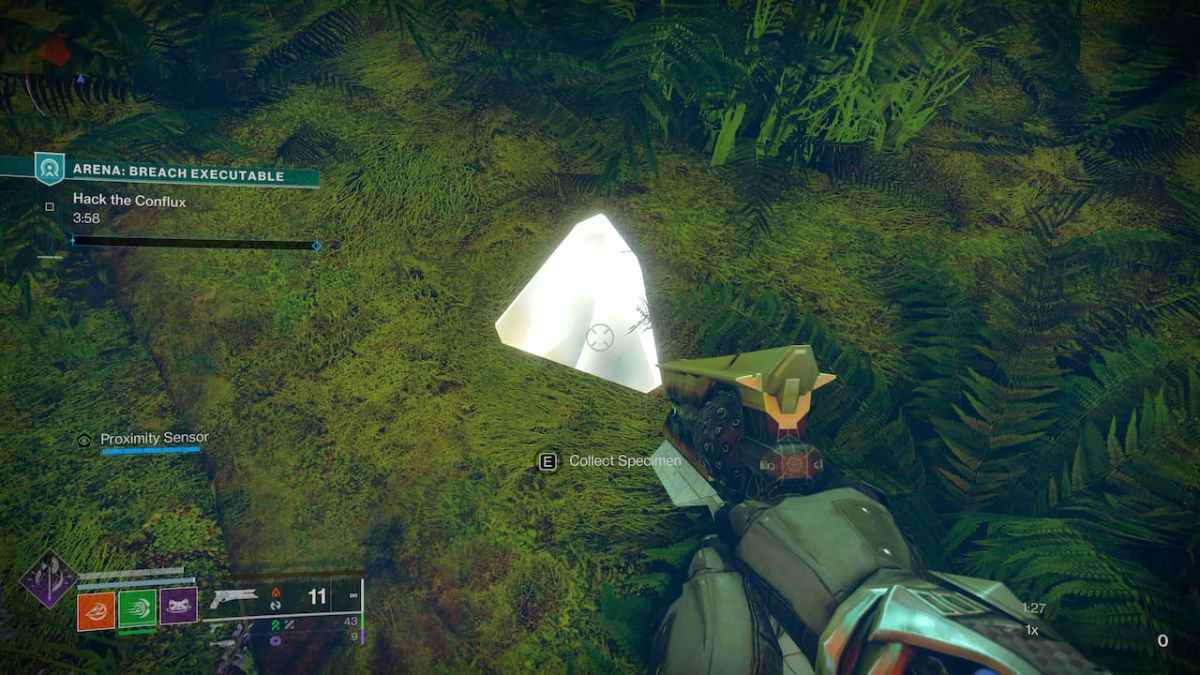
The most important thing in this step, other than completing the activity itself, is to pick up the NES002-C specimen by using, once again, your Proximity Sensor. It can be picked up as soon as you spawn in the activity, so don’t progress through the mission without picking it up first.
Steps 14 & 15: Check Failsafe’s initial analysis and deliver your research to Failsafe in the H.E.L.M. in Destiny 2
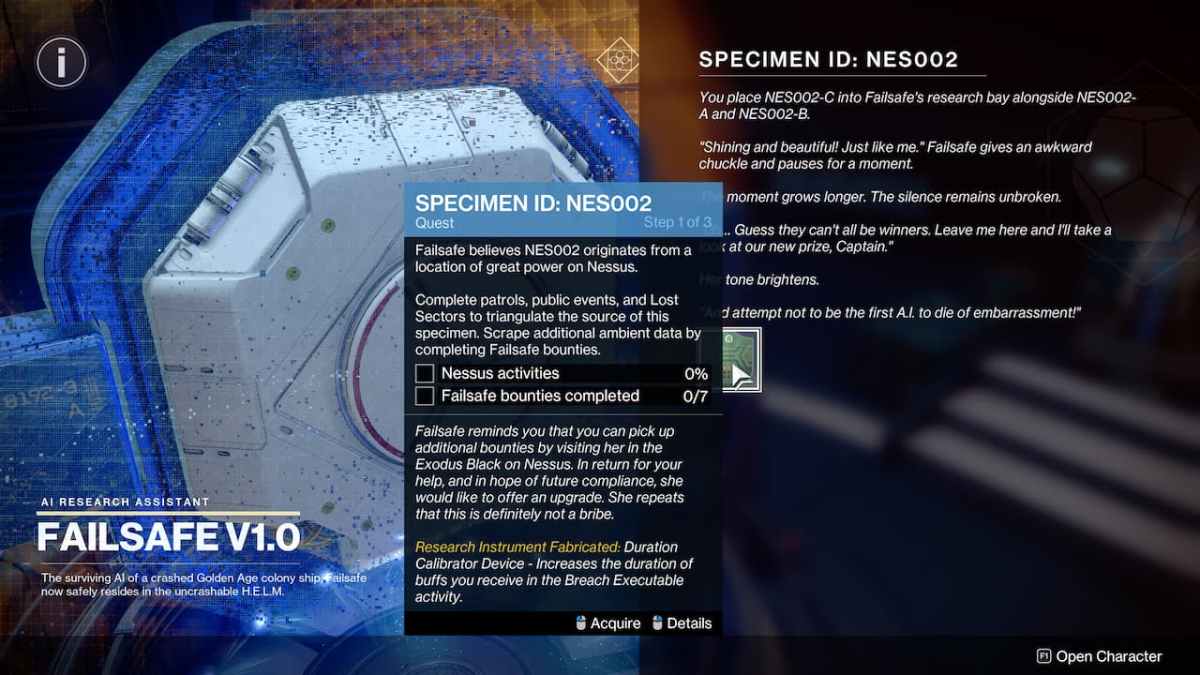
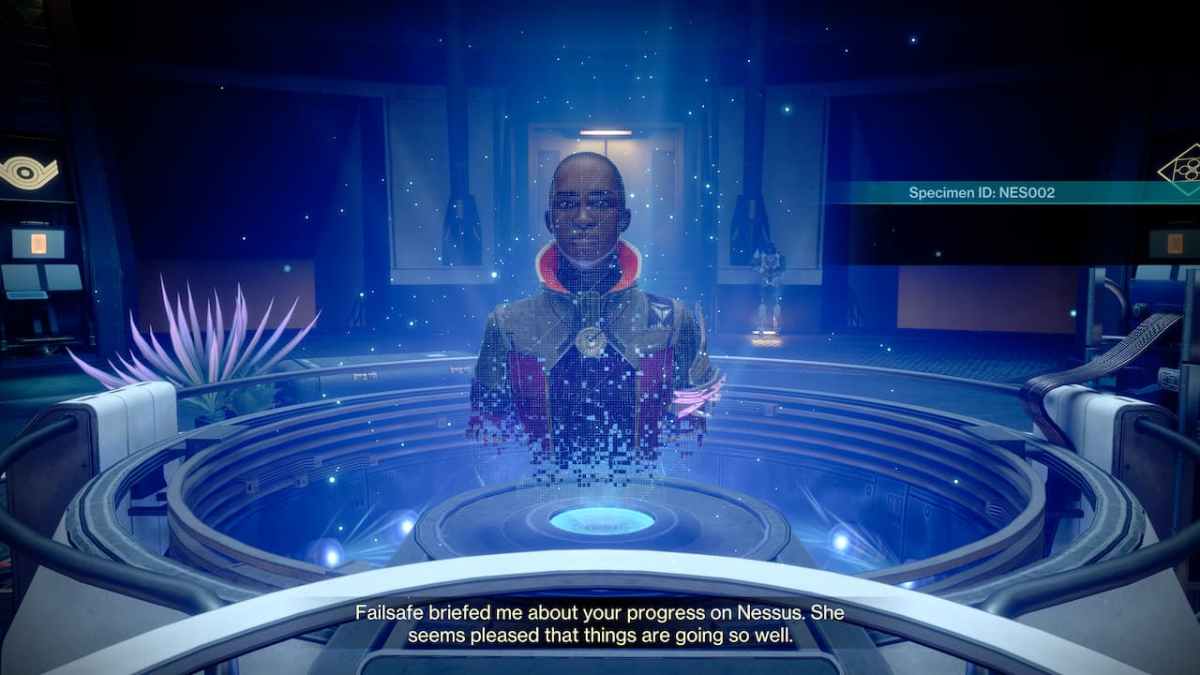
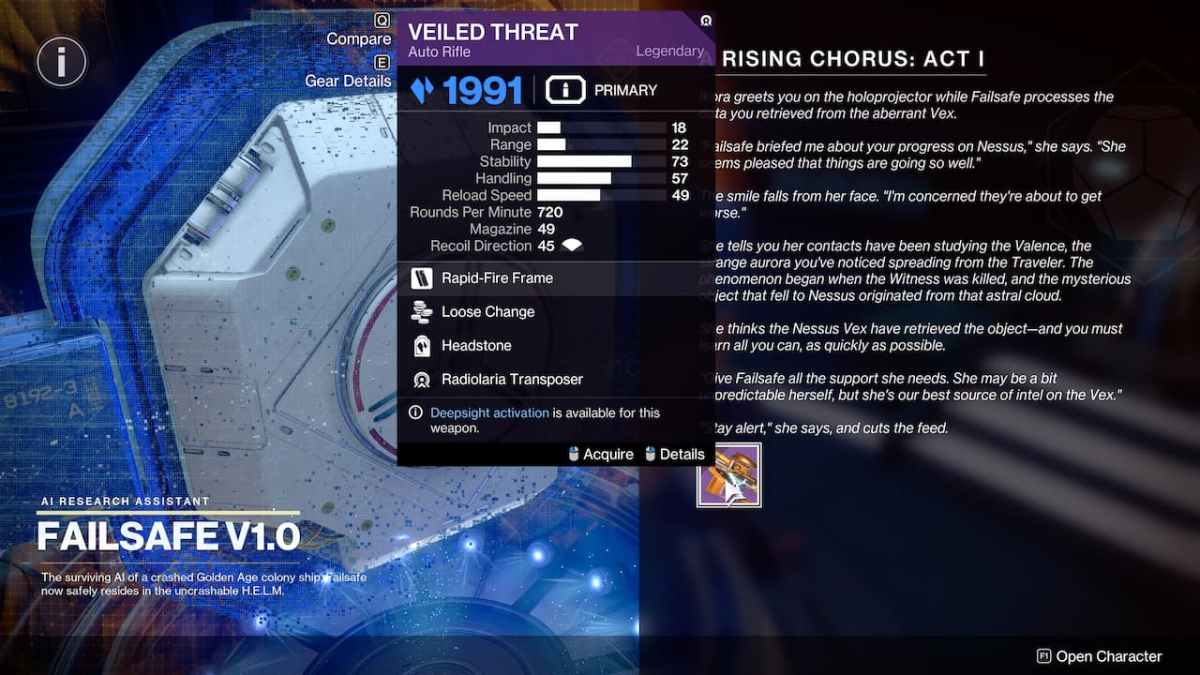
Steps 14 and 15 take place and are completed at the same time in the H.E.L.M. Interact with Failsafe to deliver the new data and then Ikora will appear and give you some insight about what transpired after the Witness was killed and how it has influenced what happened in Nessus. Then, Failsafe will reward you with the Veiled Threat auto rifle, concluding A Rising Chorus Act 1 Part 2.
Week 3 – Steps 16 & 17: Failsafe is analyzing the data and receive a mission briefing in Destiny 2
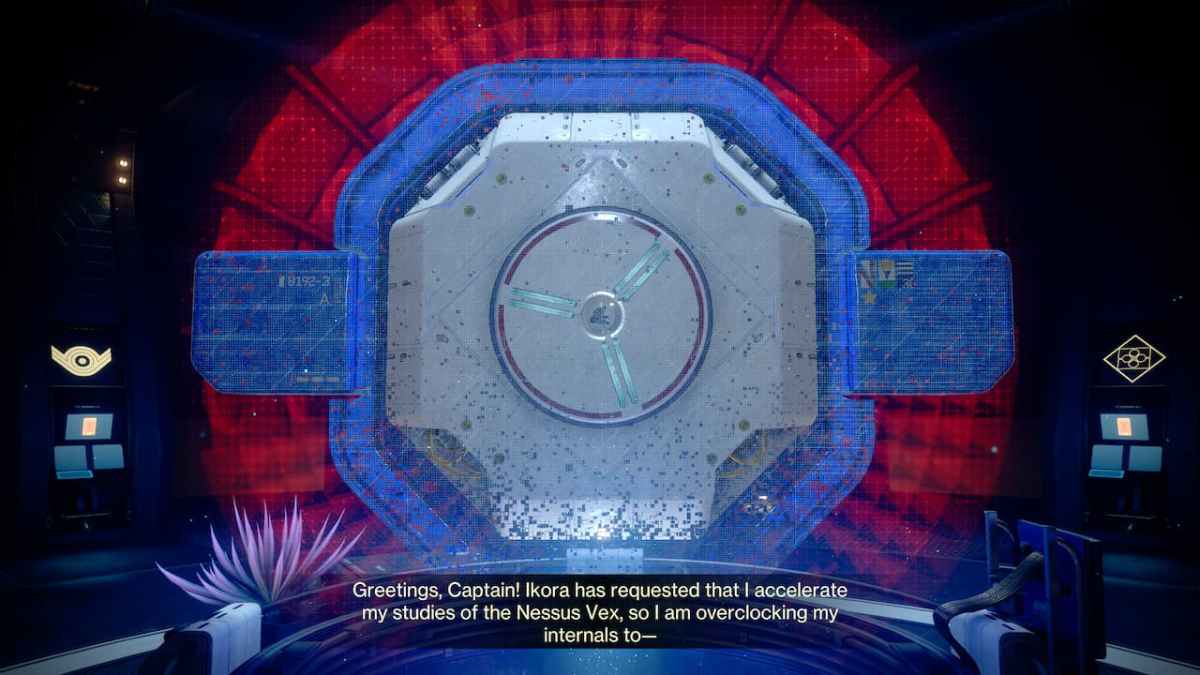
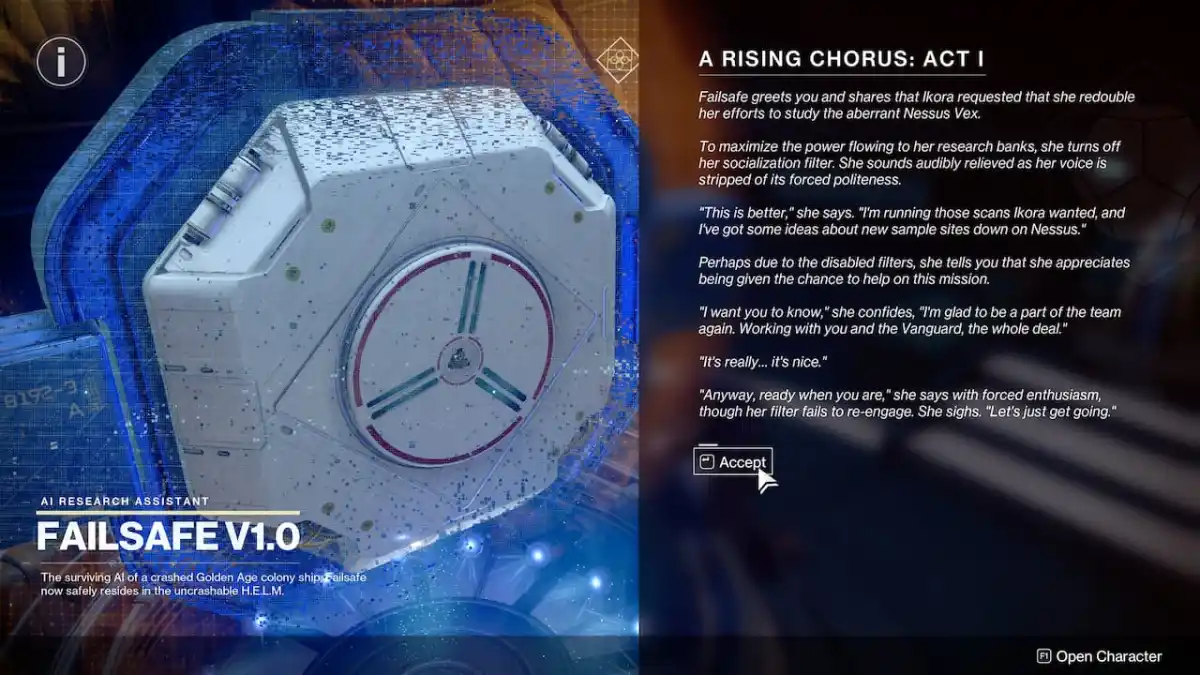
Step 16 was the second-week time gate step in which you only need to speak with Failsafe. Step 17, on the other hand, will have you visiting H.E.L.M. once again and speaking with Failsafe. She will task you with collecting radiolaria samples across Nessus.
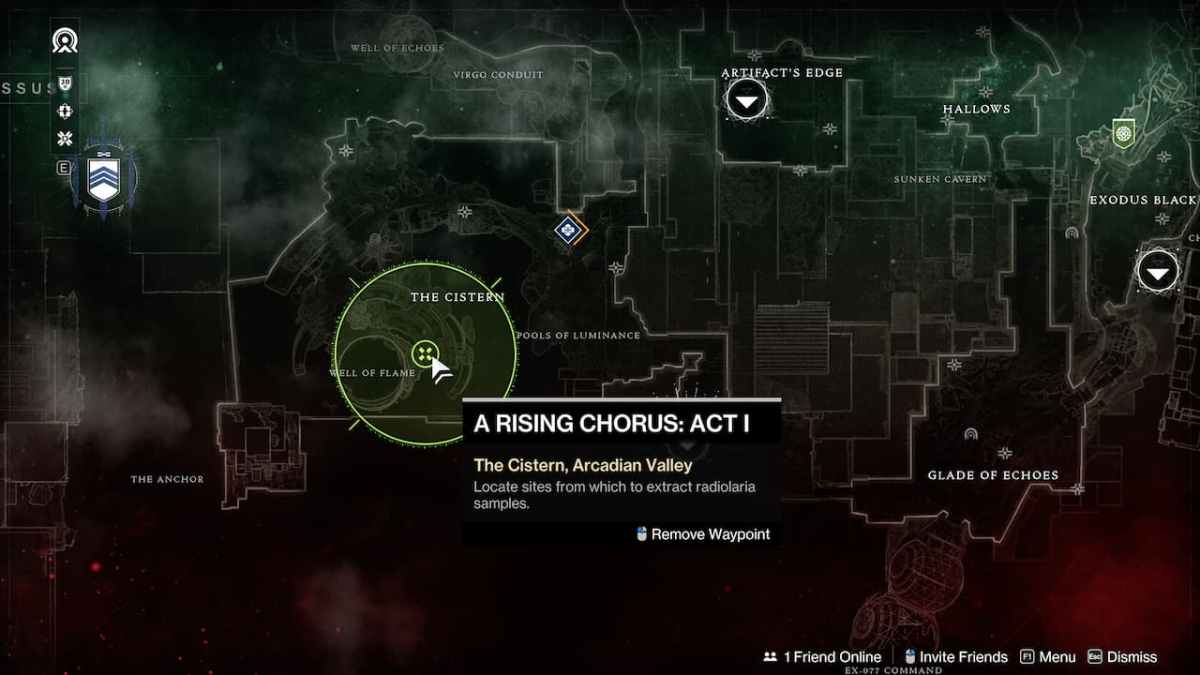
The first site you will visit to extract radiolaria samples is The Cistern region in Nessus. This zone is completely covered in radiolaria – also known as Vex milk – and some Vex enemies will continue to pop up during this step. The radiolaria samples are on top of the Vex milk, so use terrain edges to grab them and save yourself the damage income. Locate them across the area using your screen marker.
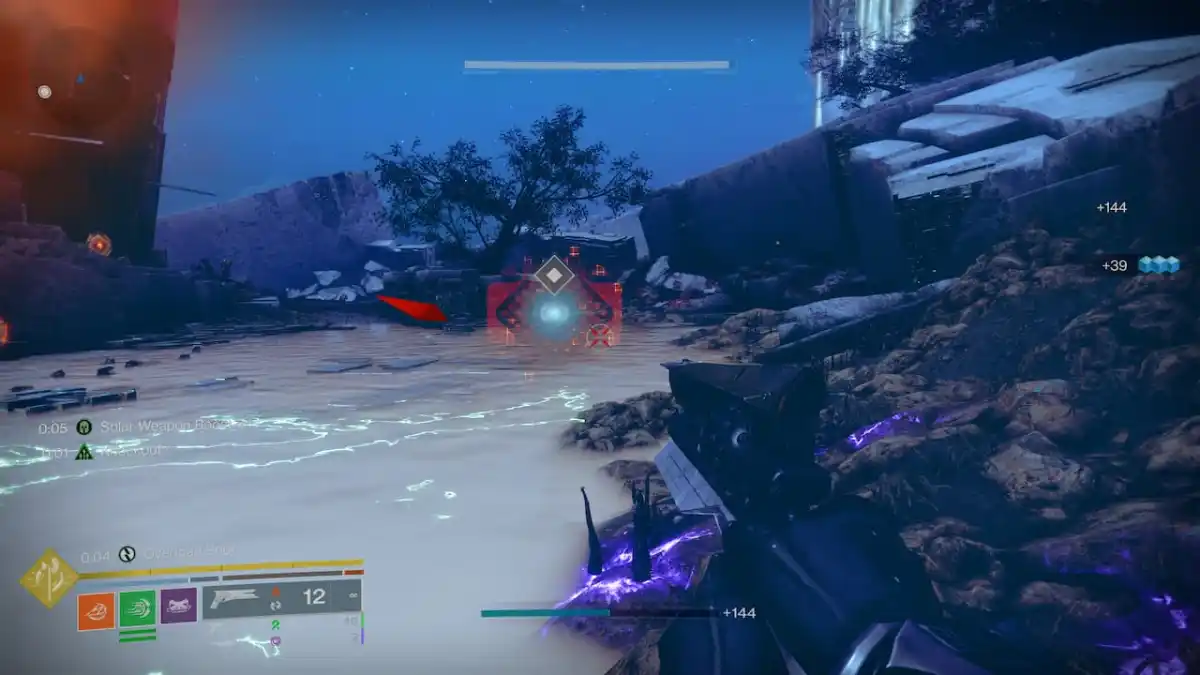
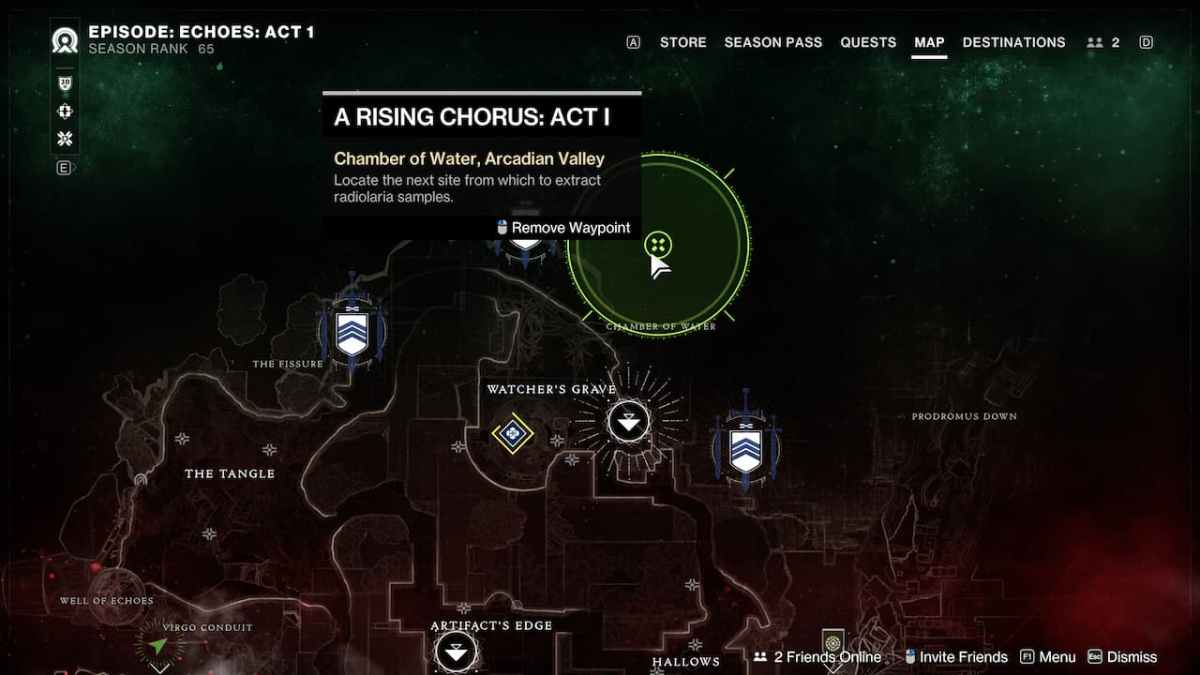
The second radiolaria sample extraction site is located in the Chamber of Water, north of your previous location. Head to the marker on the map and through the portal you will see. This time, you will encounter Vex and the radiolaria samples in a more linear way, so defeat them and pick them up, respectively.
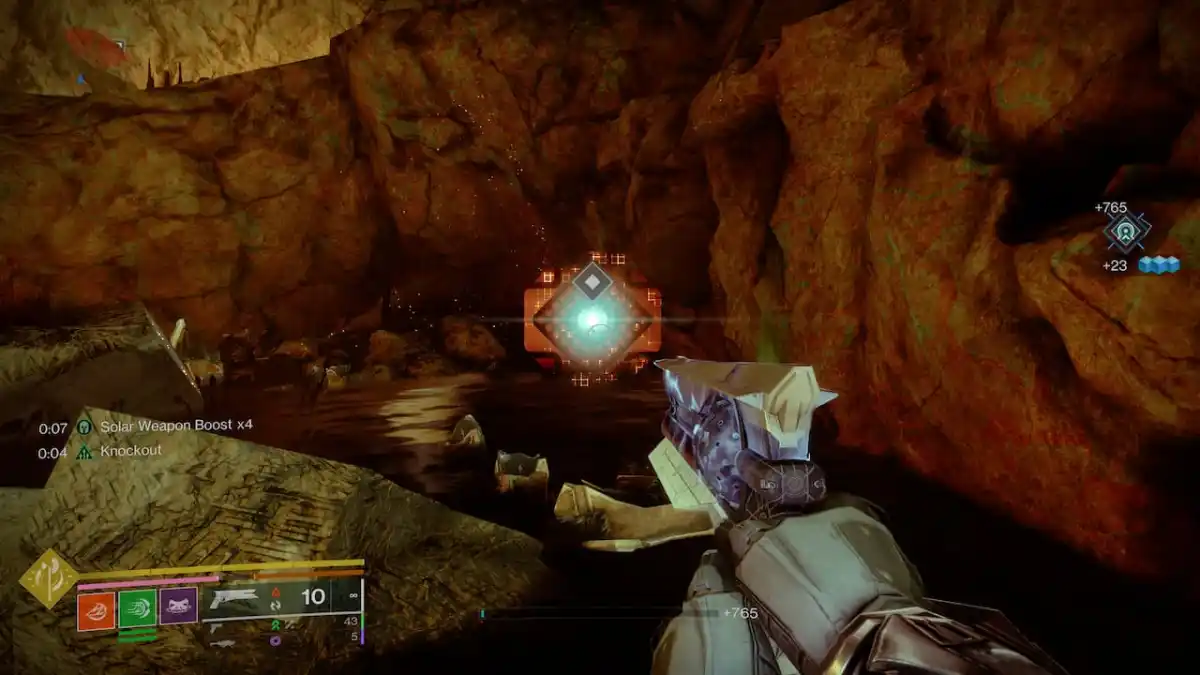
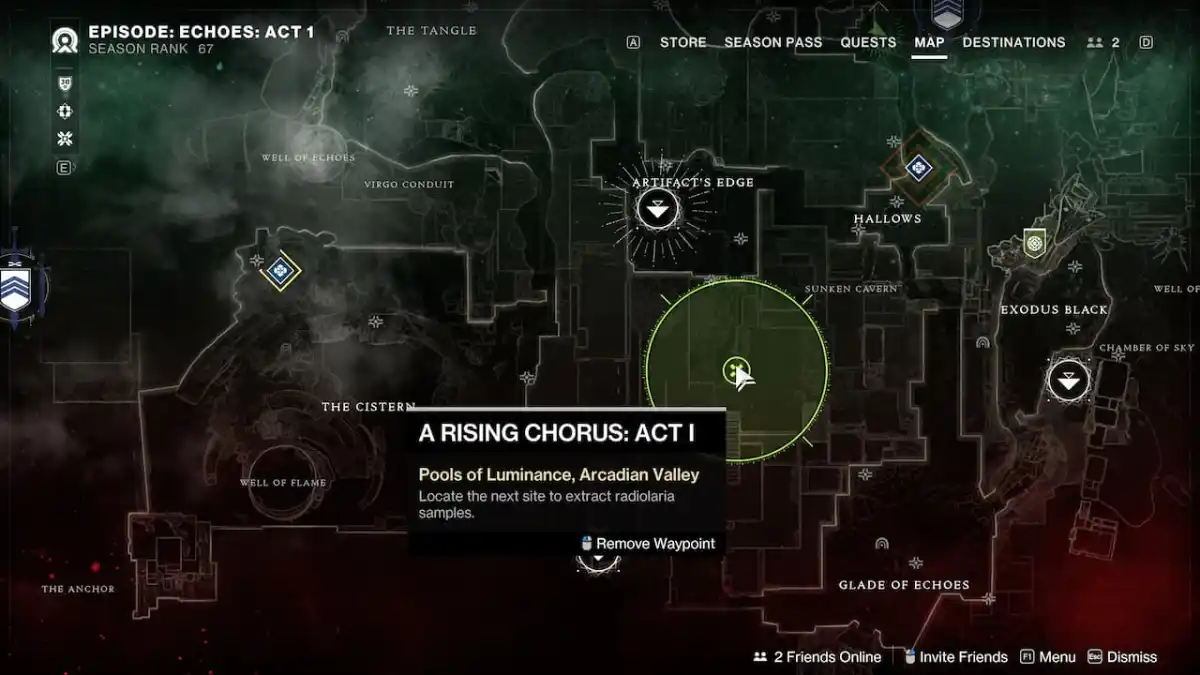
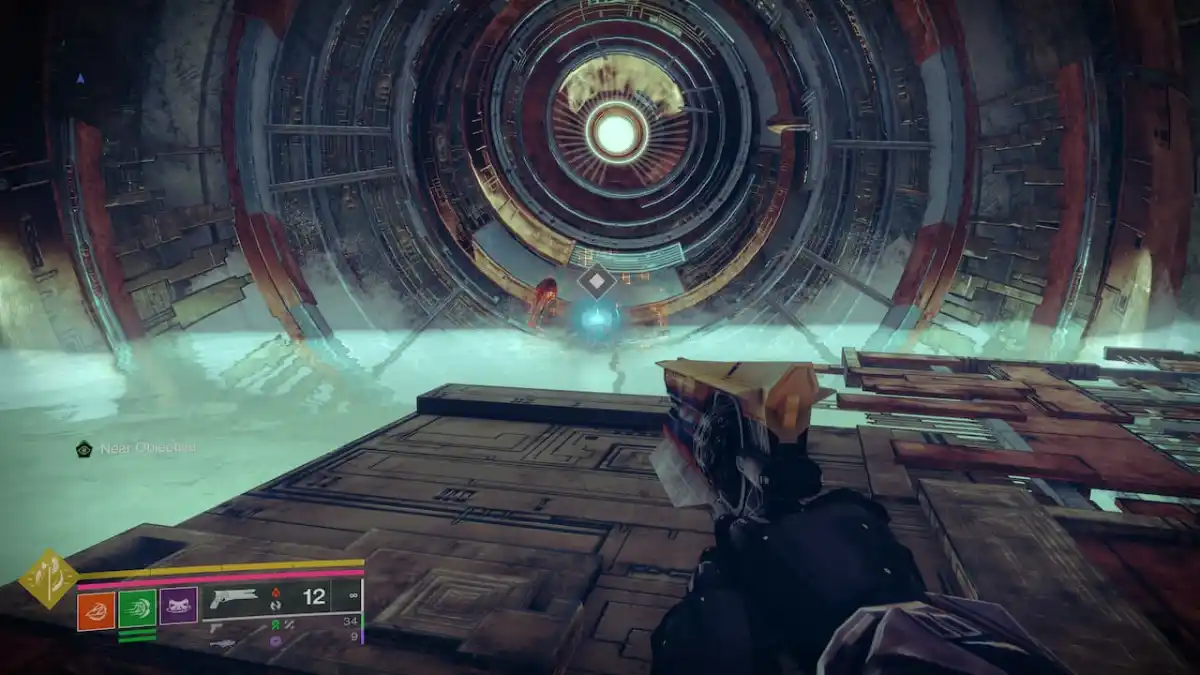
The last site is at the Pools of Luminance. Follow your on-screen market to locate them since they are pretty difficult to get to on your own. You will eventually get to a room filled with Vex milk and Vex enemies. Defeat them all and collect the radiolaria samples to have everything you need, for now.
Step 21: Answer Osiris’s call for assistance in Destiny 2
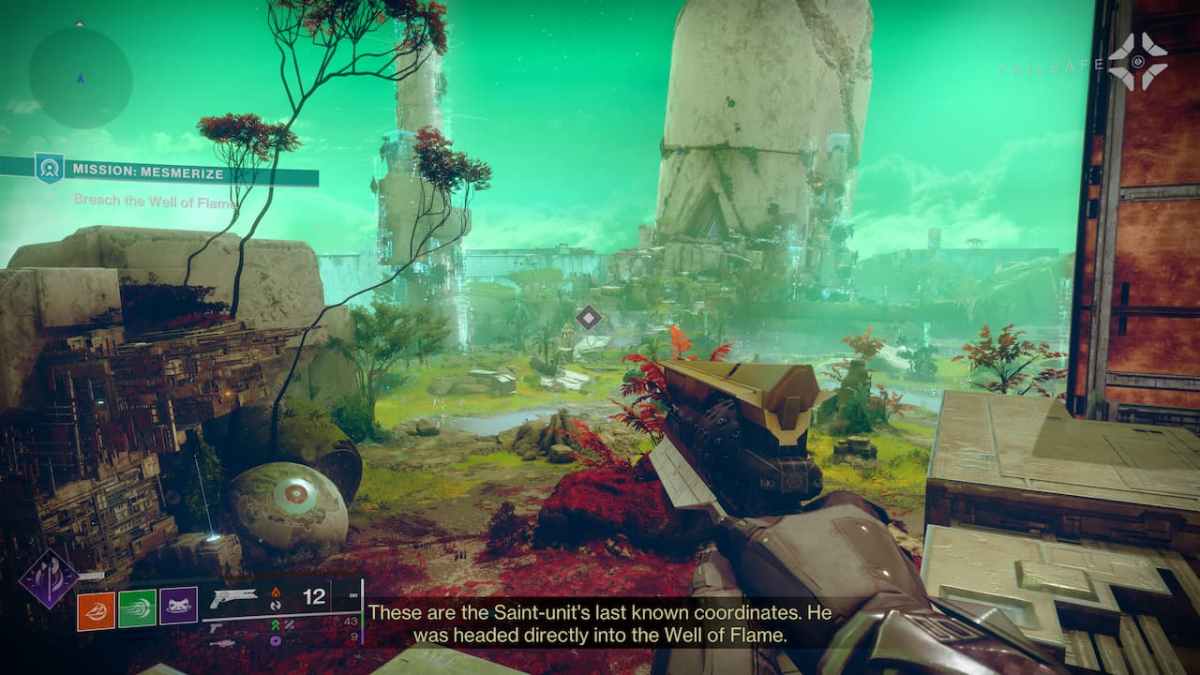
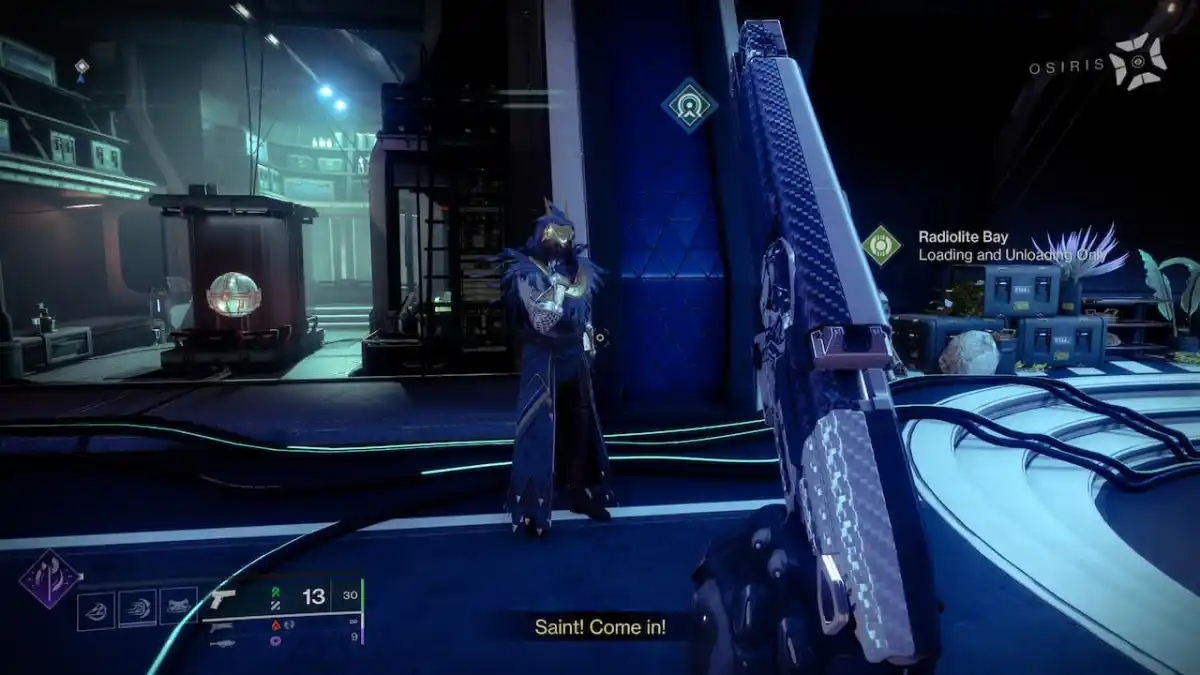
You will, however, receive a distress call from Osiris. Head to H.E.L.M. and you will find out that he has been unsuccessfully trying to communicate with Saint-14. That being said, Failsafe is able to locate him near the original crash site we visited in Nessus. While Saint-14 does not respond, we are tasked to find him by completing Mission: Mesmerize.
Step 21: Track down Satin-14 beneath the crust of Nessus in Destiny 2
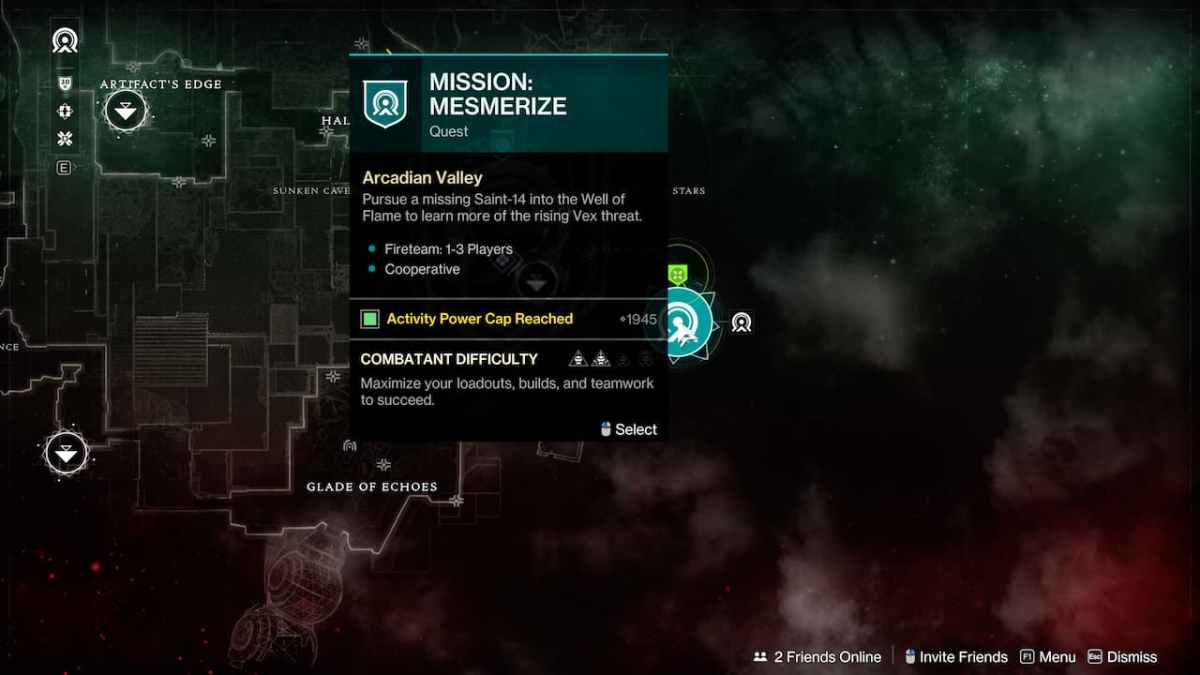
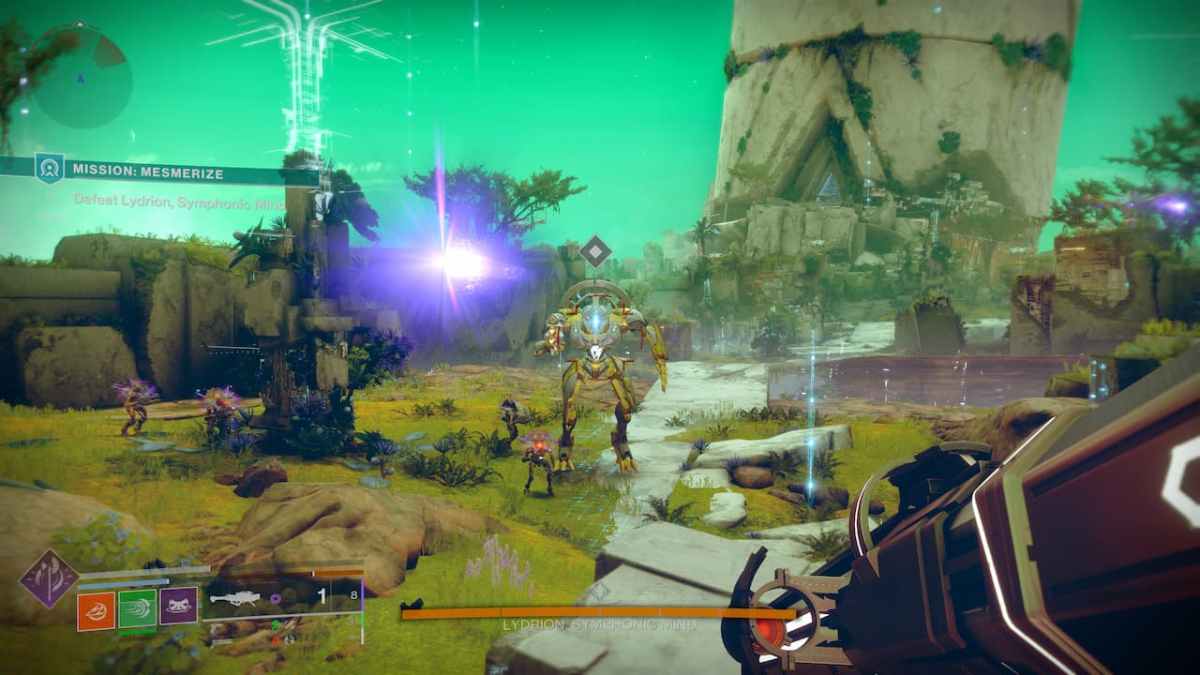
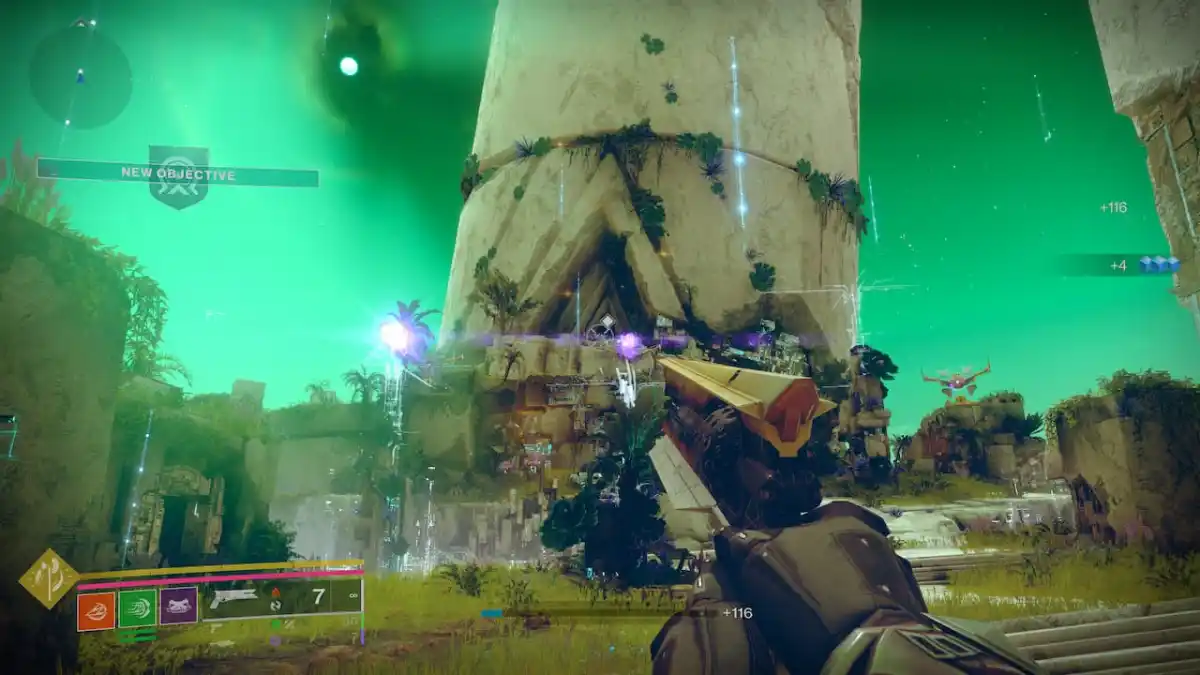
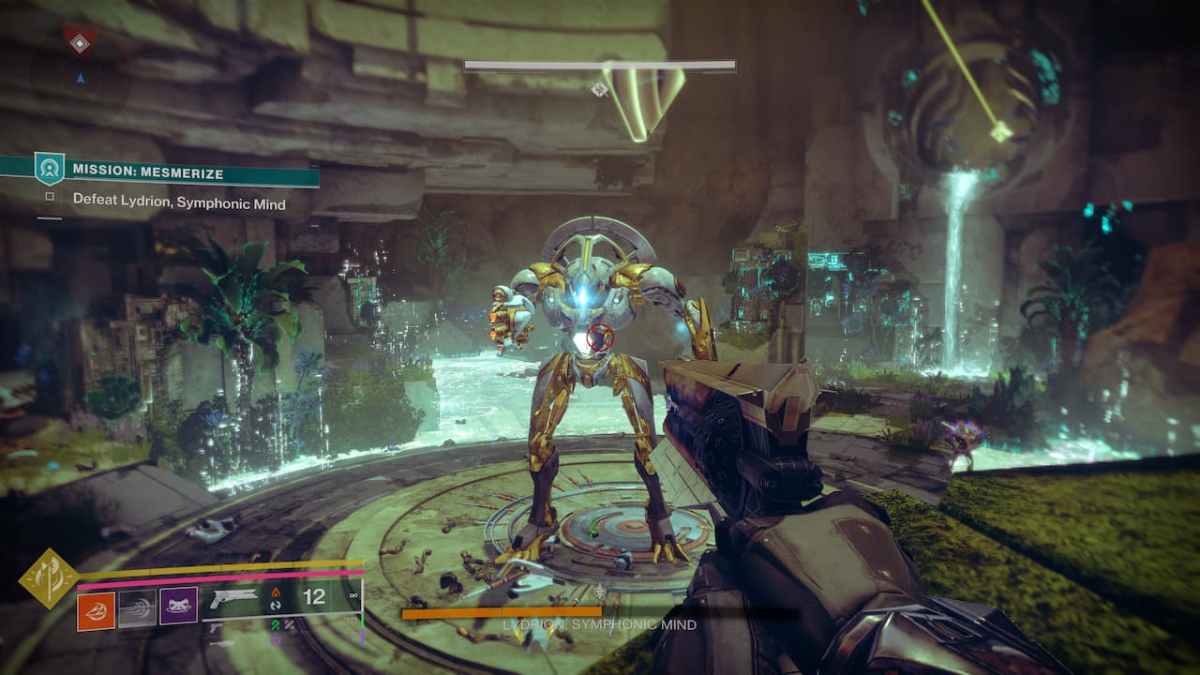
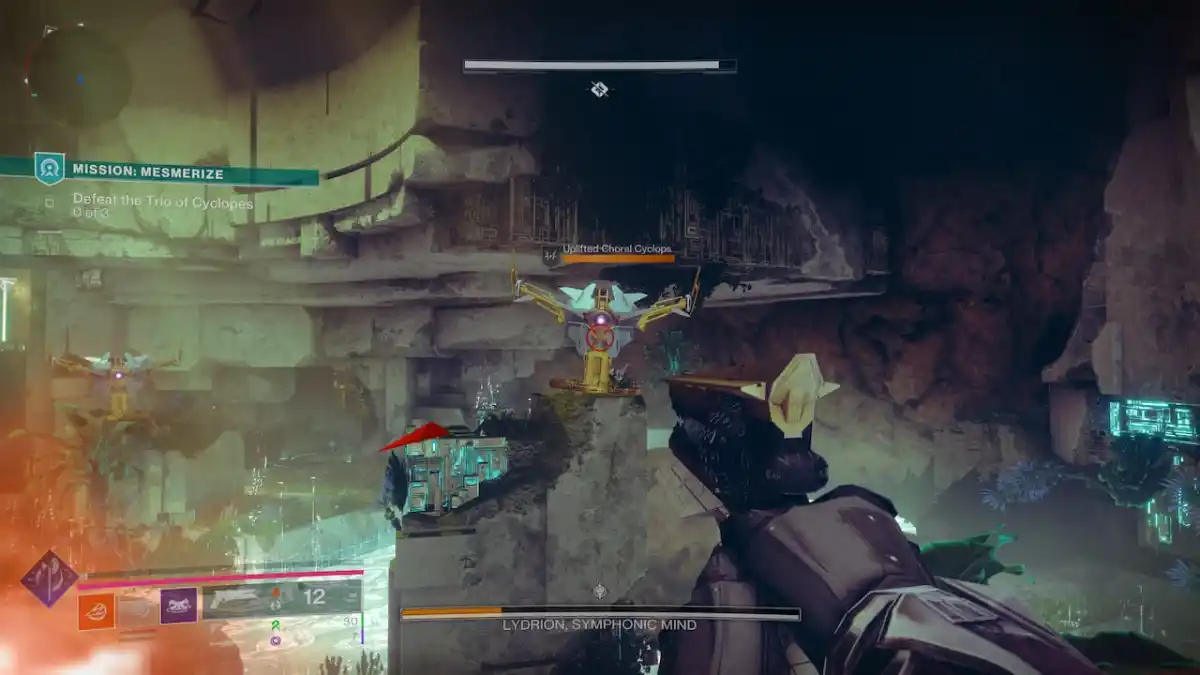
Start the mission and you will find yourself in an open area with a lot of Vex and Lydrion, Symphonic Mind. Engage all of the Vex in the area with some extra caution with the several Cyclops that are located in vantage points and can kill you without breaking a sweat.
Once you half Lydrion’s health, you will now have to travel inside the Well of Flame. Get inside, fall down the well, and walk through the portal.
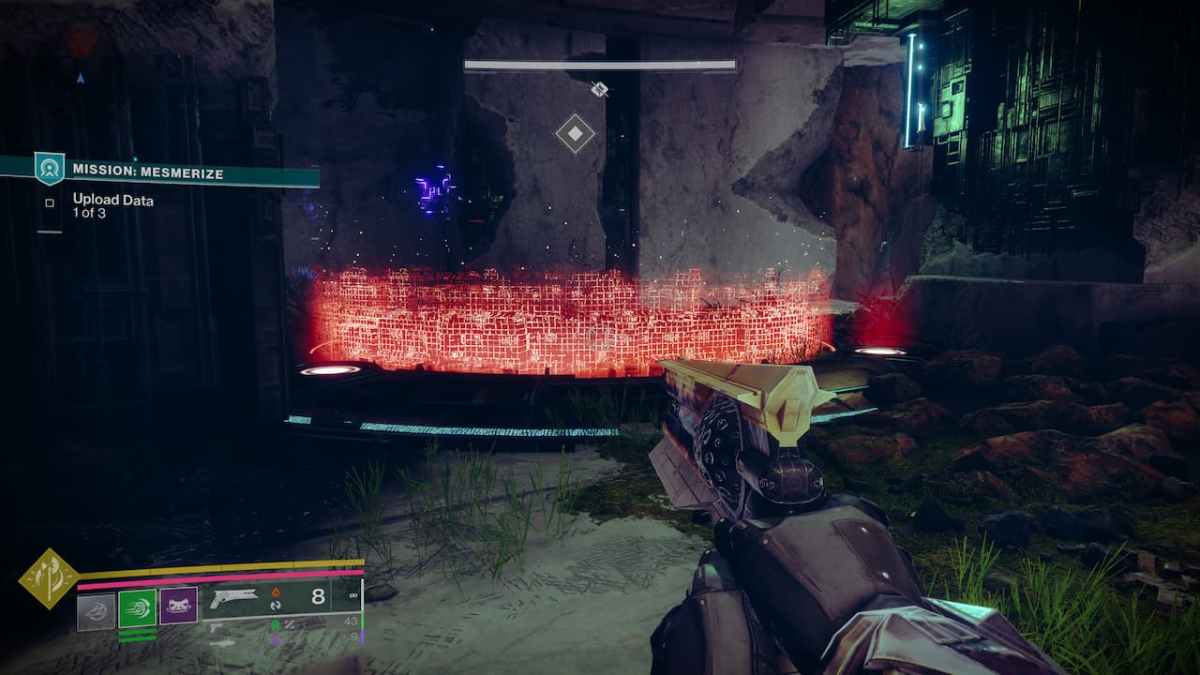
This is one of the first places we visited during this quest – more specifically, during Step 2 – but now you will have to defeat more Vex than before. Moreover, you will have to upload three data sets by standing on top of the marked red areas on the map. Keep standing on top of them and defeat any incoming Vex so that you can upload the data successfully.
Our friend and boss Lydrion will appear once again and now it is time to defeat him for good. Once you drop his health enough, he will gain an invulnerable shield. To disable it, defeat the three Cyclops that will appear across the map. Once you do, shoot Lydrion with everything you’ve got and he will eventually fall.
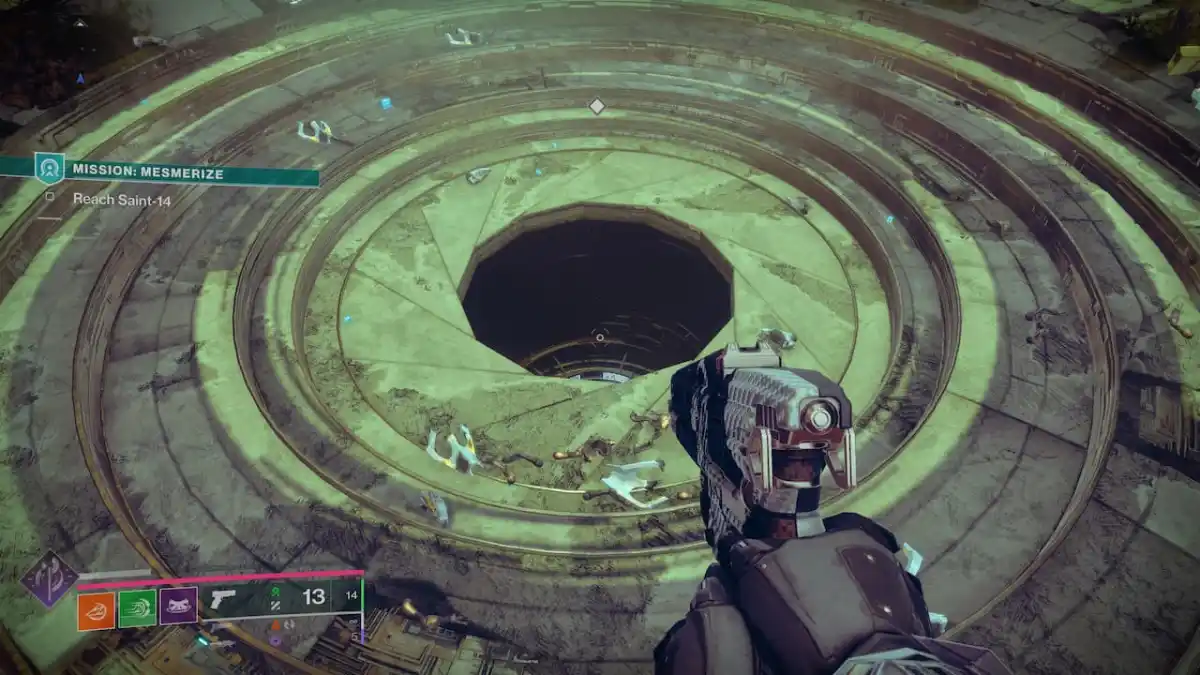
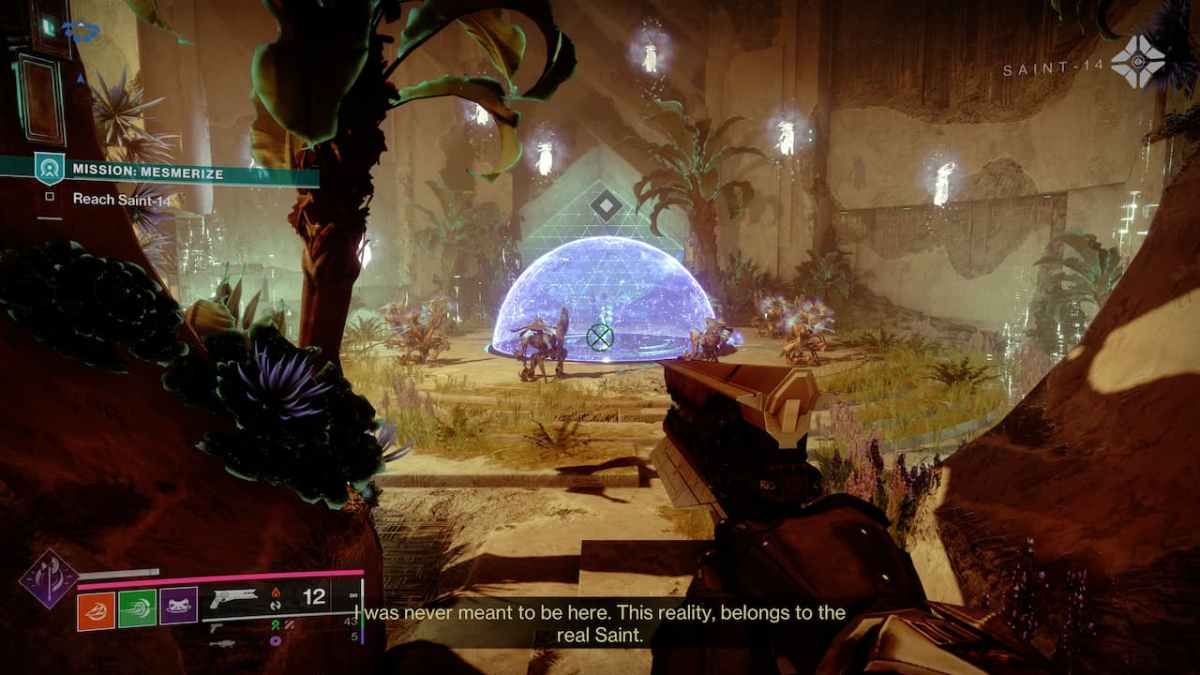
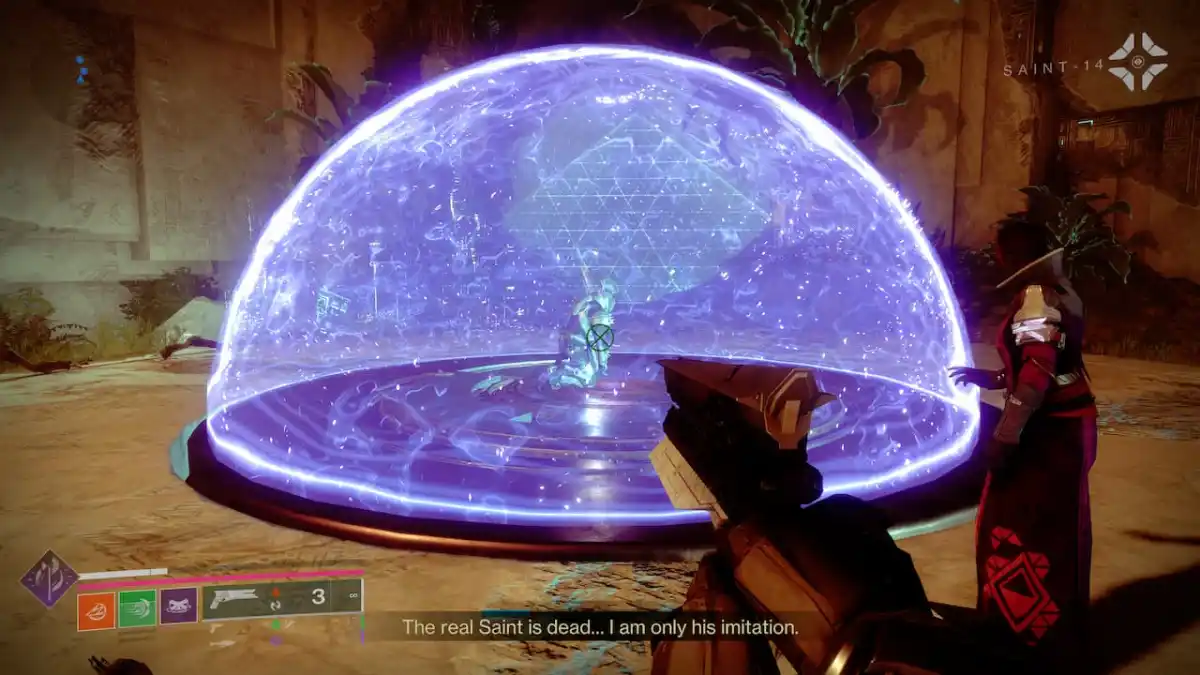
Once Lydrion dies, the central area floor will open. Drop down and you will find Saint-14 inside an energy shield, surrounded by Vex. It appears that an entity has been influencing him and controlling his thoughts, similar to the recent odd Vex behavior.
Step 22: Meet with the rescued Saint-14 in Destiny 2
Head back to H.E.L.M. and you will find Saint-14, Osiris, and Ikora. The latter two will be listening and consoling Saint-14 who reveals that the name of the entity is the Conductor. Failsafe recognizes that the Conductor can manipulate beings based on Radiolaria, like the Vex and Exo.
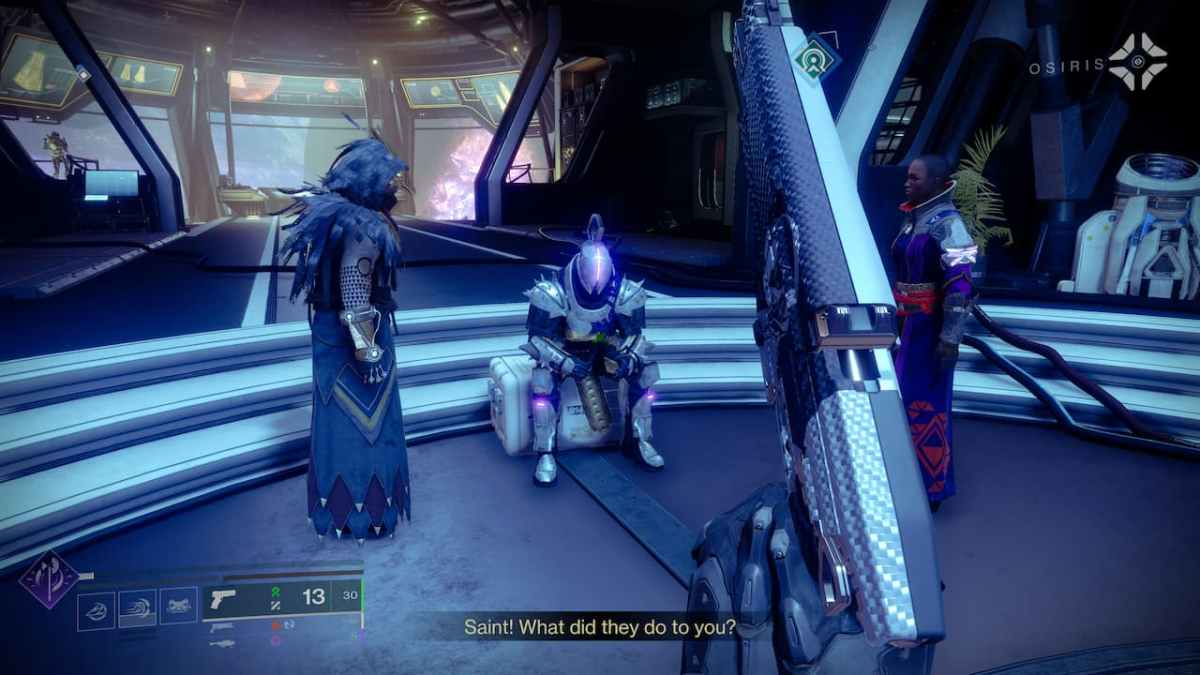
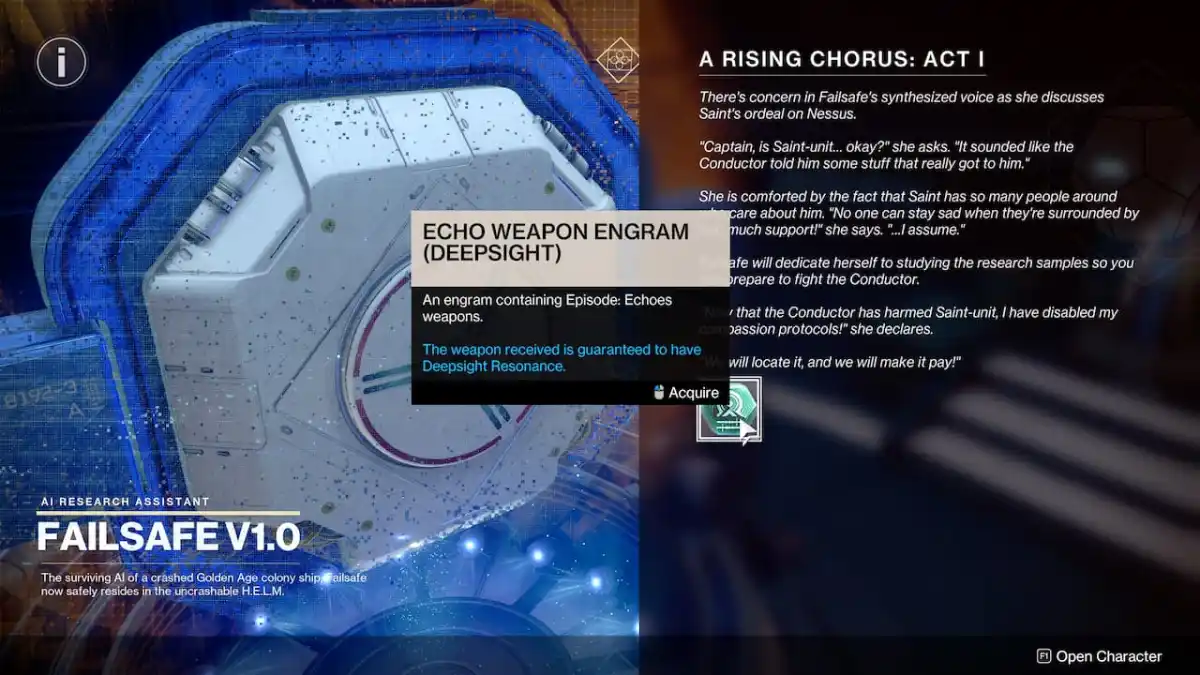
Saint-14 also suffers from an identity crisis as he learns he is just “a copy of a copy”, but everyone assures him he is very loved and accepted, especially Osiris. Failsafe will now deactivate her compassion filter and will be determined to put an end to the Conductor given how it was able to affect Saint-14 to the point he was nearly broken.
Steps 24 & 25: Discuss Saint-14’s ordeal with Failsafe & Echoes Act 1 complete in Destiny 2
And that is it for A Rising Chorus Act 1. Like the previous time gated steps, Act 2 will begin when Episode Echoes Act 2 releases on July 16. For the time being, be sure to check out how to start and complete the Enigma Protocol mission. Believe me, it can get overly complicated.

