 by theygames
Worqor Zormor is the second Dungeon in the Dawntrail MSQ and is arguably tougher than the first. Let me give you a crash course with our Worqor Zormor Dungeon FFXIV Dawntrail guide: Encounters, mechanics, and rewards.
How to start the Worqor Zormor Dungeon in FFXIV Dawntrail
The only way to unlock the Worqor Zormor Dungeon is through natural story progression through the Dawntrail Expansion. You’ll need to finish the Ihuykatumu Dungeon first, and you’ll reach Worqor Zormor a couple of hours later.
Once you’ve beaten the Dungeon, you can reattempt it anytime with real players or the Trust.
Worqor Zormor FFXIV Dawntrail Dungeon guide
Worqor Zormor is a toughie, so let me explain how to clear every part of the Dungeon in the order you’ll face them. As for rewards, there’s miscellaneous gear up for grabs after each encounter. It’s good etiquette to only roll on gear for your job so your teammates can still get decent loot.
If the gear you find isn’t suitable for you, make sure to press “pass” to give someone else a chance.
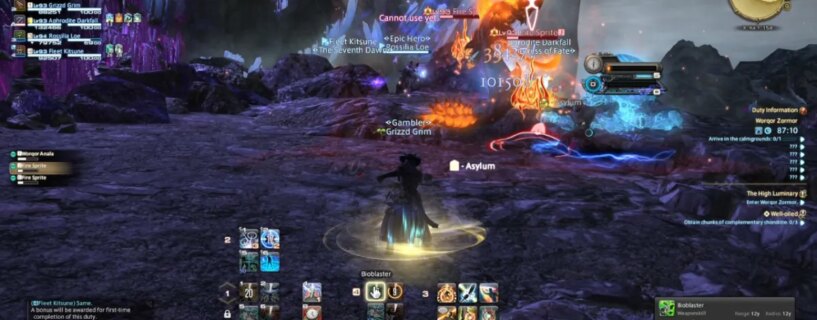
Traverse the Mountainside
Like most Dungeons, Worqor Zormor throws a few groups of smaller enemies as a taster of what’s to come later. There are four groups of monsters to take care of. If your Tank is brave, they can comfortably pull pairs of groups together with little risk.
Remember to use your AOE attacks if three or more enemies are in the pack. You can swap to your single target abilities when only two remain, as your damage numbers will increase.
How to beat Ryoqor Terteh
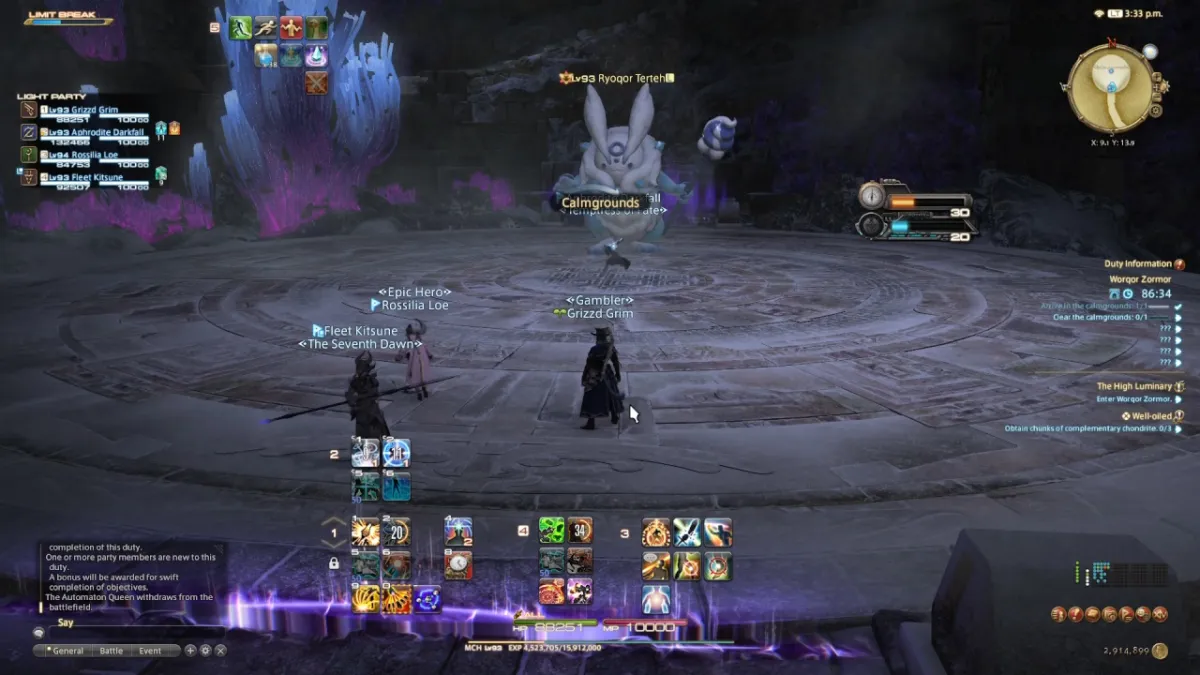
I could swear Dawntrail monsters try to kill us with cuteness! Anyway, Ryoqor Terteh is more fiendish than it looks, with a wide array of attacks. Here’s what to look out for:
Frosting Fracas

Ryoqor Terteh usually opens with Frosting Fracas, a Raid-Wide attack that hits everyone in the party. The ability is unavoidable, so keep attacking. If you’re the healer, quickly patch everyone up so they are fighting fit.
Fluffle Up
Fluffle Up is a tricky attack as it has several variants, and none of them are intuitive.
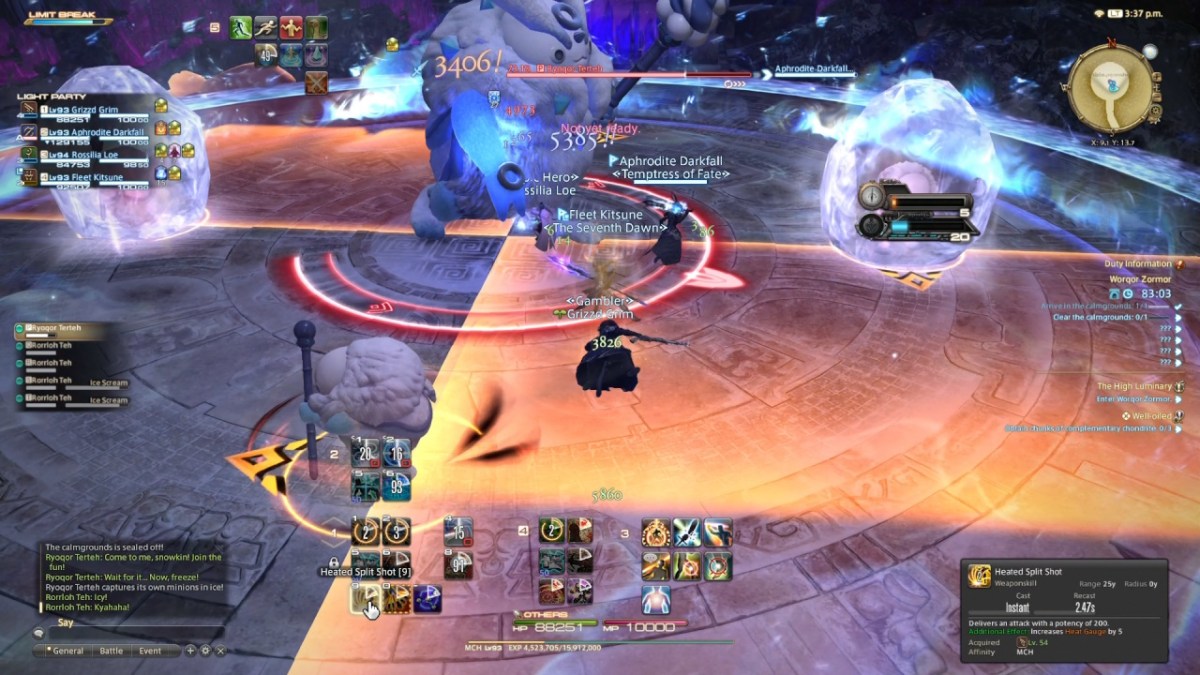
The first variant you’ll likely see spawns four minions. Each of these enemies will attack their quadrant of the arena at the same time. Fortunately, Ryoqor Terteh freezes two of them, so you can stand in front of those minions to avoid damage.
Once the first minions have attacked, move in front of them to avoid the second salvo of ice.
Cold Feat
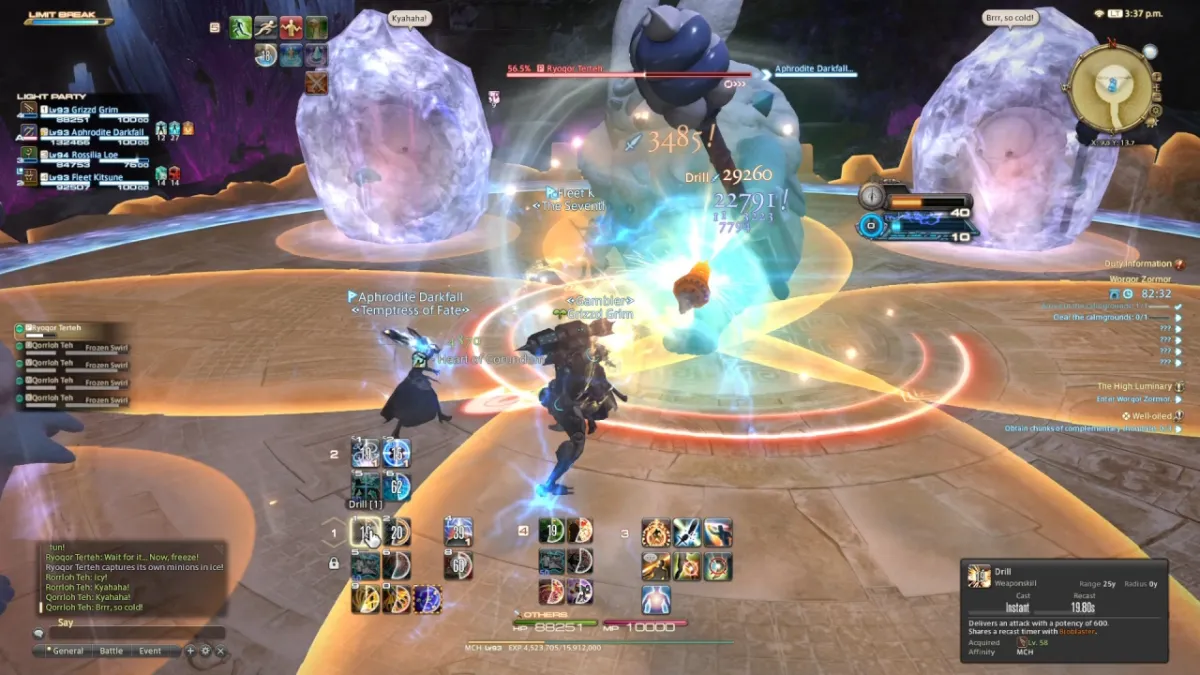
The boss will use Cold Feat shortly after spawning four large minions with Fluffle Up. The AOE markers engulf the entire arena, but the two enemies will be frozen like before and are safe to stand beside.
Move to the frozen enemies, then away to avoid taking damage.
Snowscoop

Snowballs will periodically surround the arena. It looks like their AOE’s hit the entire area, but they go off in sequence. Watch for which snowballs prime first, let them pass, then stand where they were to avoid the next volley.
Sparkling Sprinkling
In my testing, this attack usually starts when Snowscoop is active. This ability gives every player a Spread Marker, so keep your distance from your friends to survive the attack.
Press Forward
There are several large groups of enemies in the following section. My Tank died on my first playthrough here, so try not to overextend if you’re filling that role.
The route is pretty linear, so keep heading forward to the Summit of Zor and a boss encounter.
How to beat Kahderyor
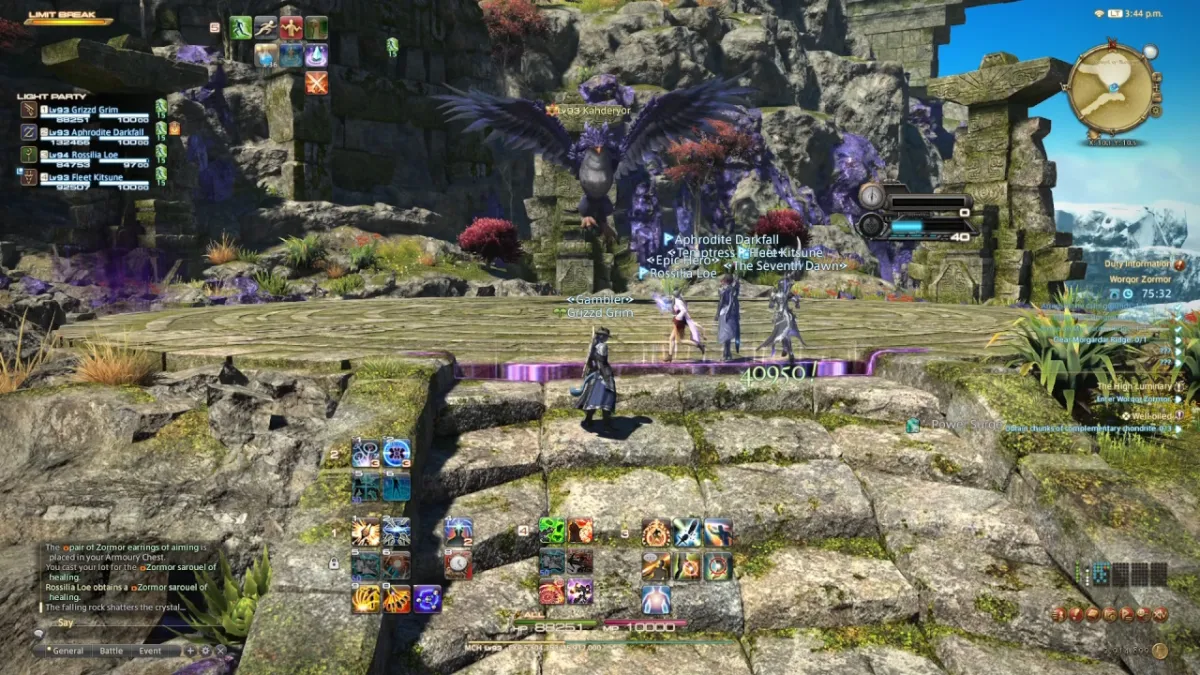
Kahderyor is a majestic winged beast with plenty of tricks. My team died here, so don’t sweat it if you do the same while learning the ropes. The key in this battle is to stay mobile, so here’s what you’re up against:
Wind Unbound
Much like Frosting Fracas from earlier, Wind Unbound is an unavoidable Raid-Wide attack. If you’re not a healer, focus on attacking the boss and let your support player get to work.
Crystalline Crush
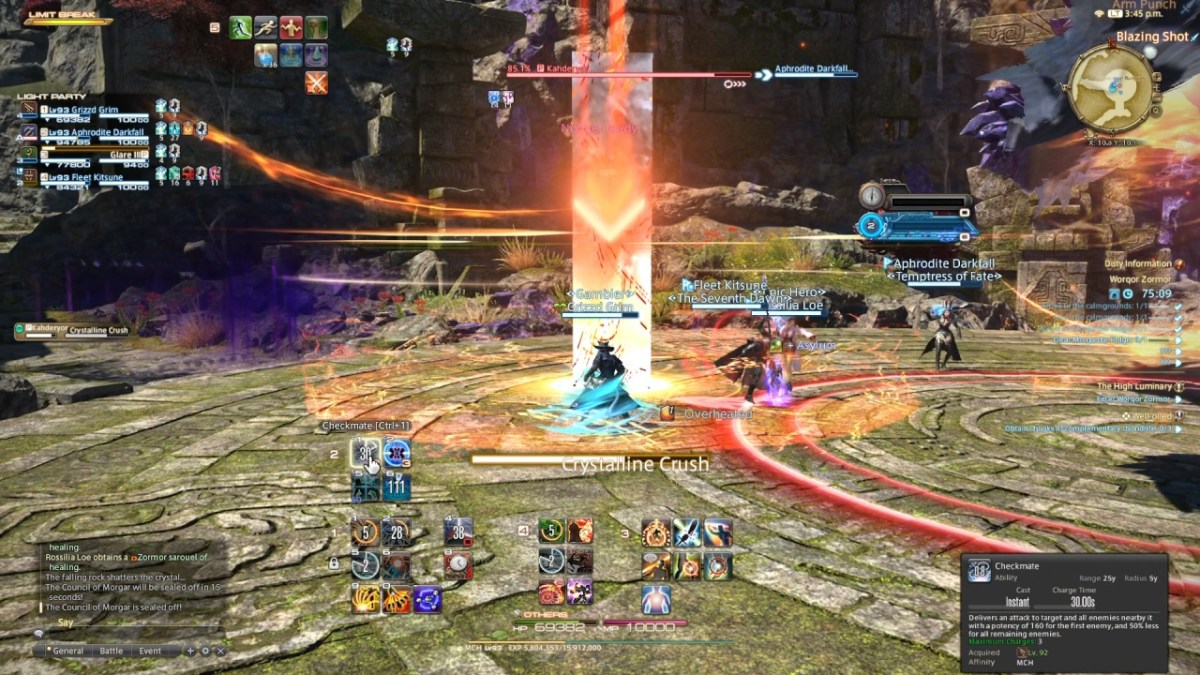
Crystalline Crush spawns a tower you must run to. You’ll take damage from this attack wherever you stand, but less so if you’re near the spire.
Earthen Shot
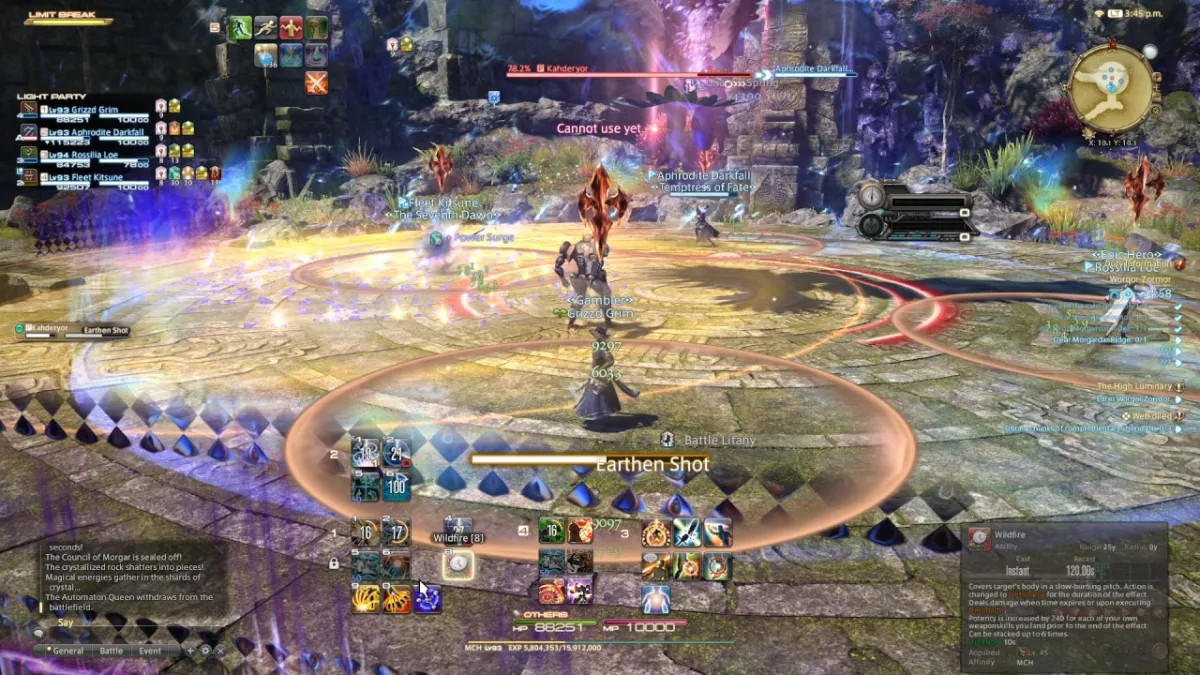
Earthen Shot is a two-pronged attack, as you must stay clear of the massive yellow AOE on the ground and deal with your Spread Marker.
Remember that the Spread Markers can collide as long as they don’t cross over the player in the circle.
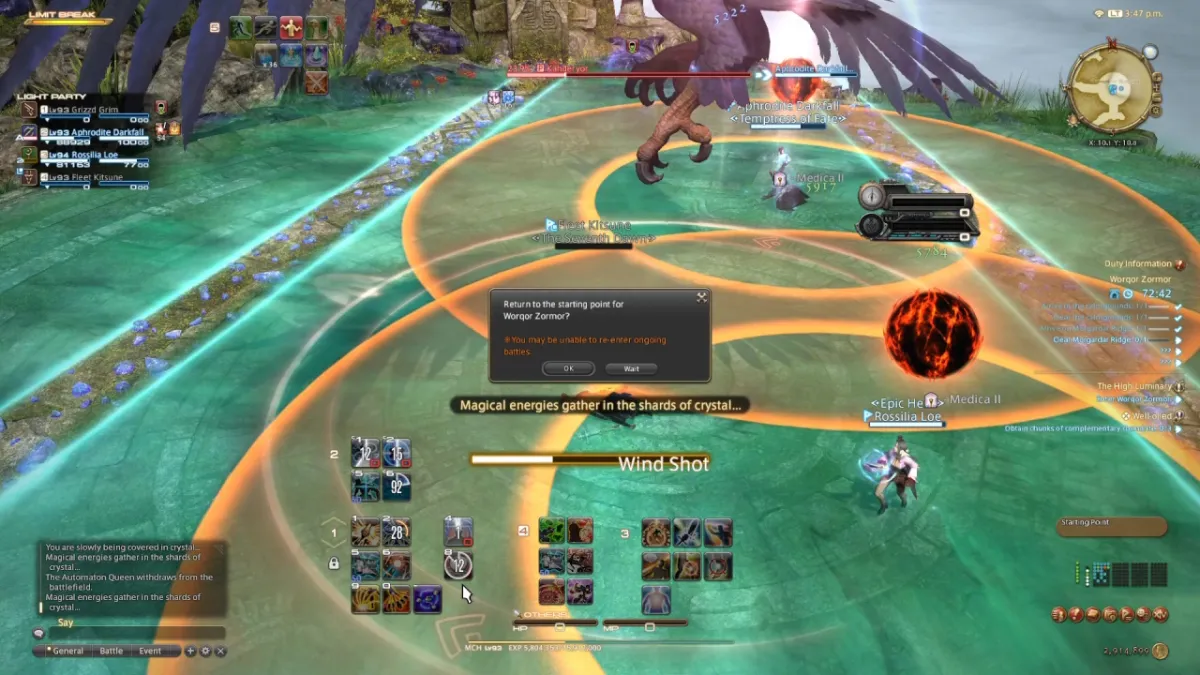
Wind Shot
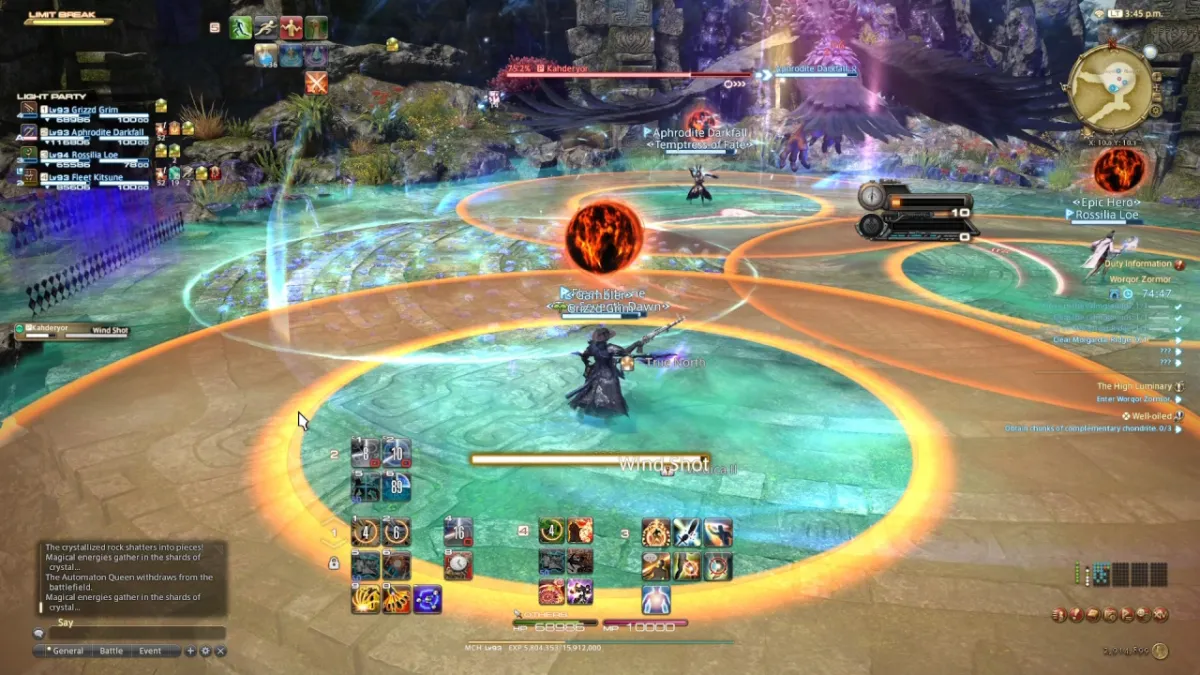
Wind Shot forces players to stay mobile, as it spawns a “donut” AOE on each player (pictured above). The boss usually activates this ability after you’ve dealt with a Spread Marker, so be prepared to move.
Crystalline Storm
Crystalline Storm draws a couple of lines of Crystals on the ground. When the attack begins, these lines become the only safe spaces on the map.
As you can see in the picture above, I got slapped by this attack every time, so don’t worry if you don’t survive the first time.
Seed Crystals
Seed Crystals force you to split up with a Spread Marker before locking you in place with Crystals. Attack the Crystals by your feet while you’re immobilized to break free.
If you’re playing with an inexperienced squad, you can help them break free by attacking their Crystals, too.
Stalagmite Circle and Cyclonic Ring
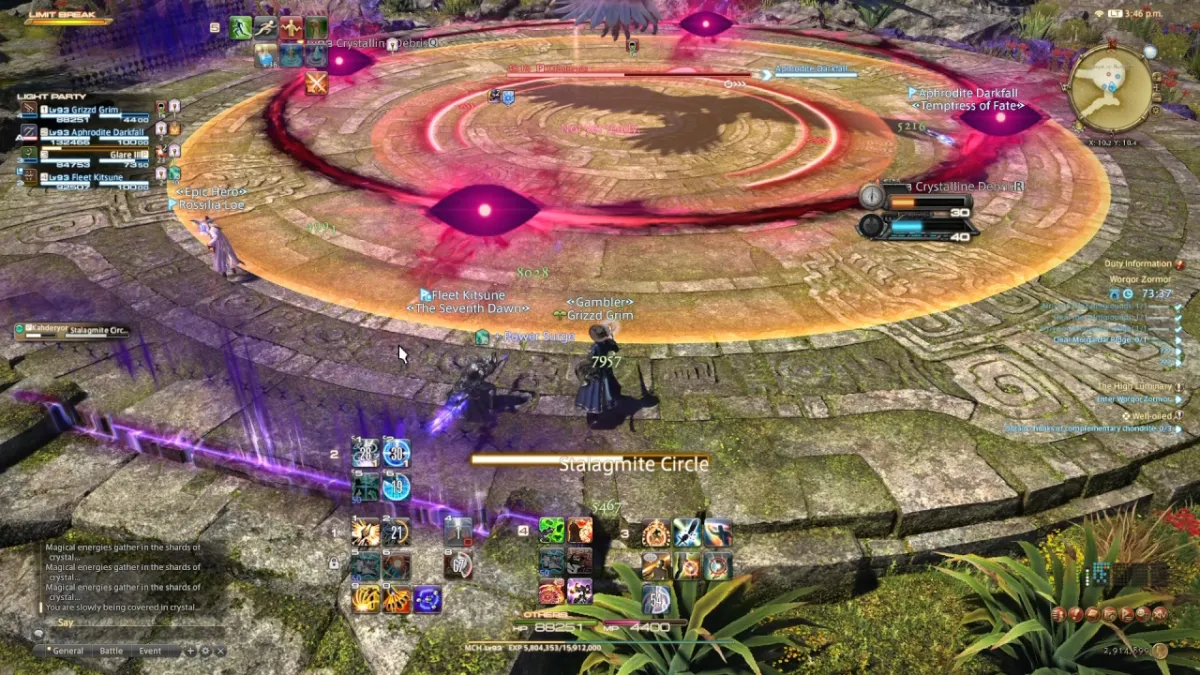
The Stalagmite Circle is a tricky attack as you must avoid the AOE circle and look away when the purple ring of eyes reaches the middle. You must avoid a ring in the middle, then an outer ring which forces you into the center.
It’s tempting to go for a few cheeky hits before the eyes reach the target, but it’s not worth giving your healer extra work.
The Final Charge
There’s not much to say about the next section, as it’s just full of regular groups of enemies. Keep pressing on, and you’ll quickly reach the final boss of the Dungeon.
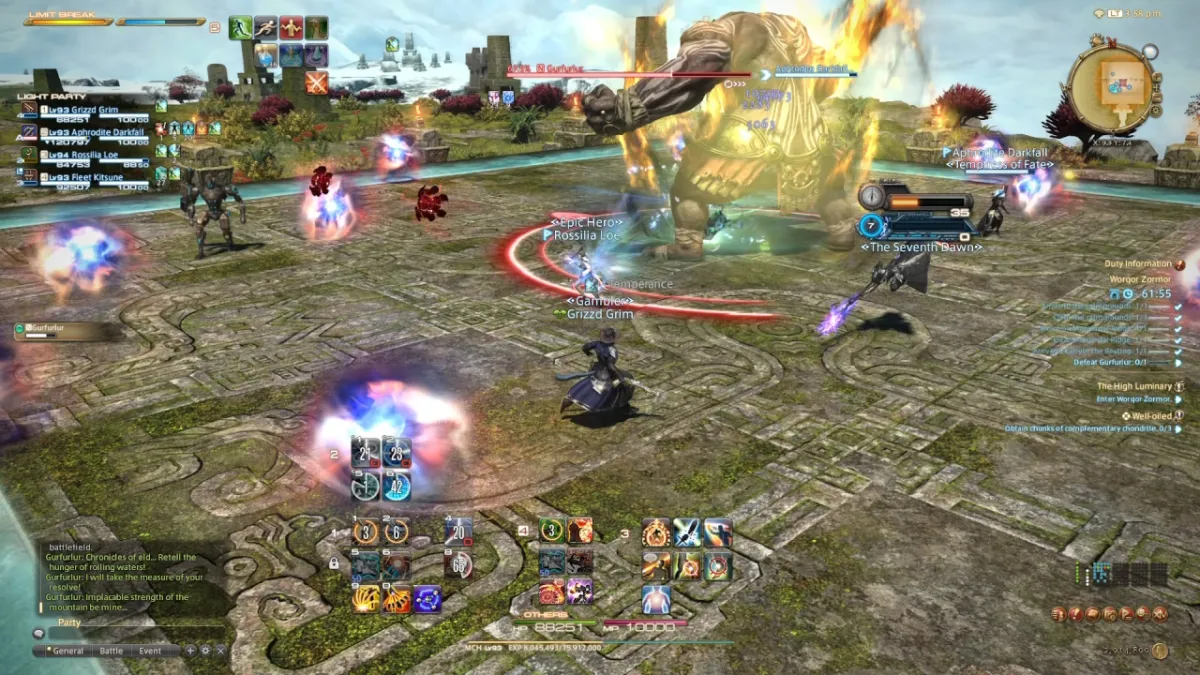
How to beat Dawn’s Elector Gurfurlur

As expected, the Dawn’s Elector hits like a freight train. Fortunately, his attacks are less complicated than Kahderyor’s, so the battle isn’t as difficult as you may think. Here’s what you must keep an eye out for:
Heaving Haymaker
We’ve covered multiple attacks like Heaving Haymaker in this guide, and it’s your standard Raid-Wide ability. Like before, the Haymaker is unavoidable.
Stonework
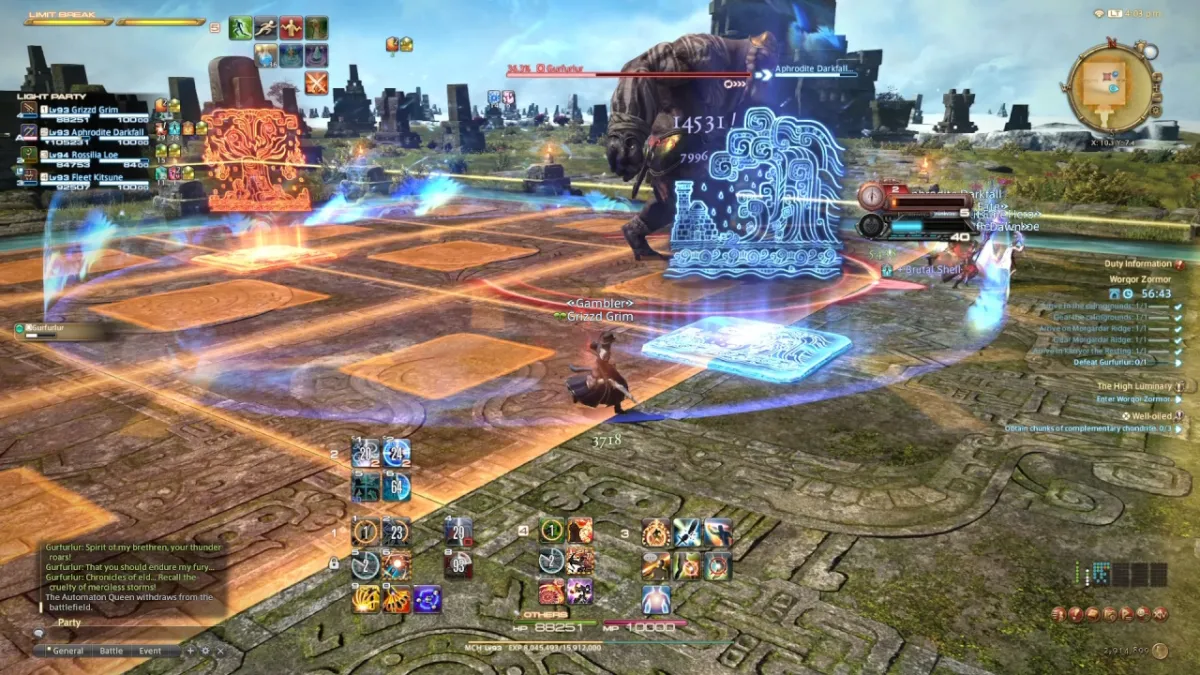
Gurfurlur can spawn a few different stones for this attack, each with a unique ability. If the stone is red, the arena will fill with square AOEs, exploding in the order they appear. Simply wait for the squares next to you to blow up, then walk to them to avoid damage.
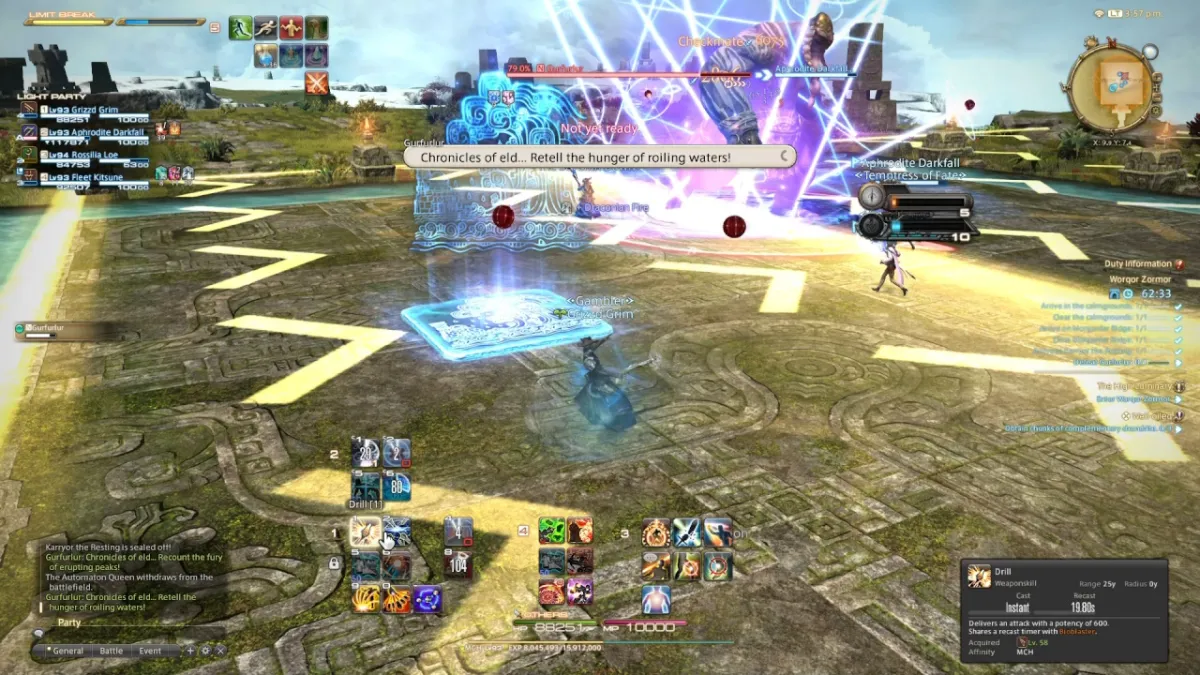
If the stone is blue, run to the edge where the arrows are coming from (pictured above), as you’ll be flung off the map otherwise. Similarly, if the stone is green, it will also push to the edges, so stand near it if possible.
The green stone also spawns tornadoes to avoid, which can be a pain when trying to stay on the map. Toward the end of the battle, the boss can spawn multiple stones with Stonework simultaneously.
Sledgehammer
Sledgehammer summons a well-telegraphed Stack Marker on one of your teammates. Make sure you’re all standing there to withstand Gurfurlur’s attack.
Arcane Stomp and Enduring Glory
Arcane Stomp is the only attack that may cause problems, as it’s a little unclear what you’re supposed to do. Orbs will spawn all over the map and slowly travel toward the boss. If he collects the orbs, he receives a damage buff and can kill the team in a single hit if left unchecked.
Fortunately, you can prevent a wipe by collecting the orbs yourself. You don’t need to walk into every orb, but you’ll be fine if you collect most of them. After the orb phase, Gurlurfur will charge Enduring Glory, a massive Raid-Wide attack. The ability shouldn’t kill you if you collected enough orbs.
The Dawn’s Elector is no slouch, but he’s not too bad once you’ve figured out his attacks. You don’t earn anything special for completing the Dungeon, but there’s a Trial on the horizon!
If you’re finding it a chore to interact with NPCs surrounded by crowds, a new feature solves the problem. You can make players disappear around important NPCs to reduce clutter.